Normally you create a link between a menu button and a specific file on the disc or USB stick by specifying a file path to the file. For example: ‘Files\Button1\MyDoc.doc‘. When a user clicks on the button, the file (in this case ‘Files\Button1\MyDoc.doc‘) will be opened.
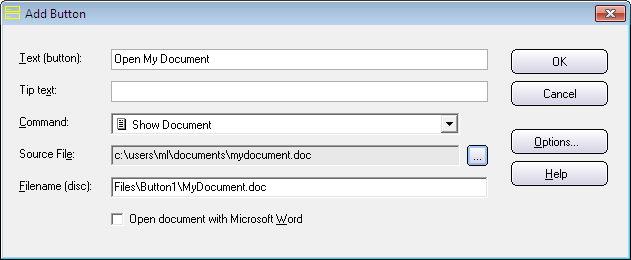
If the filename must be changed, for any reason, the whole menu must be created again when this technique is used. Otherwise the file will not be found when the user clicks on the button.
 But starting with version 8.5.3 of CD-Menu Creator, an alternative method can be used. Instead of specifying a file path to one specific file, for example ‘Files\Button1\MyDoc.doc‘, you can use a wildcard character (an asterisk: *) and specify a file path to the first occurrence of a file in a folder with a specified filename extension, for example ‘Files\Button1\*.doc‘. In this case the first file in the ‘Files\Button1‘ folder that has a ‘.doc‘ filename extension in its filename will be opened.
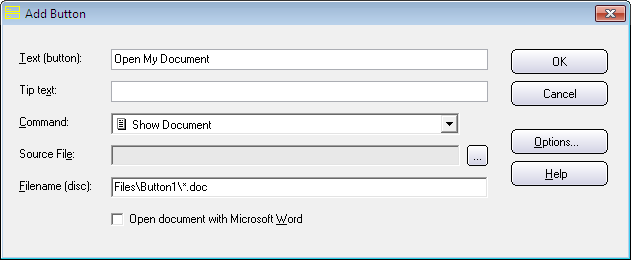
This technique allows you to change the filename of the file in the folder without re-creating the whole menu. The filename extension must be the same, but the rest of the filename can be changed freely on the CD/DVD/USB stick.
Works with documents and programs
This technique with a wildcard character can be used with the following three button commands:
Run Program
Run Program & Close
Show Document
Filename examples
Below are some examples of how filenames can be built when using this technique:
‘MyDoc1.doc‘
‘MyDoc2.doc‘
‘LatestNews-20170528.doc‘
‘LatestNews-20170529.doc‘
‘Journal-John-Smith.doc‘
‘Journal-Sam-Johnson.doc‘
File path examples
Below are some examples of how the file path can be built:
‘Files\Button1\*.doc‘
‘Files\Button2\*.xls‘
‘Files\Button3\*.exe‘
‘Files\Button4\journal*.doc‘
‘Files\Button5\app*.exe‘
An asterisk (*) is the only supported wildcard character. The asterisk must always be to the left of the dot that starts the filename extension.
Tip
When you create your menu for the first time, it can be a good idea to first select a source file and specify a complete file path to this file (do not use wildcards yet). After you have created your menu and everything works as expected with the selected file, you can change the file path to a file path that contains a wildcard character. Then you create your menu again. Henceforth you can change the filename of the file freely directly in the folder on disc or USB stick. You don’t need to create the menu again.
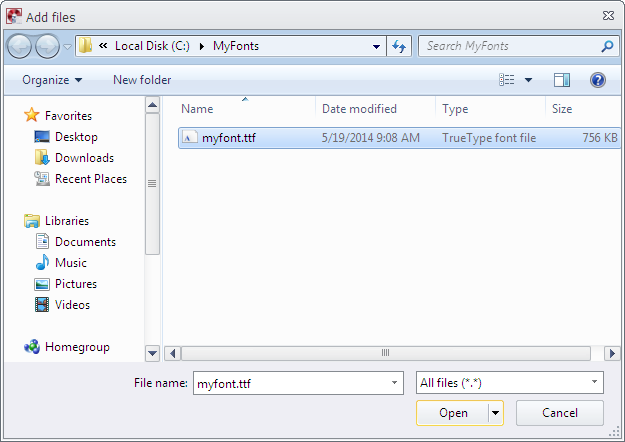
 Sometimes the fonts that are included in Windows are not enough, and you need to distribute your own font(s) with your software. But before they can be used in another computer, they must be installed in the right system folder and registered in the system.