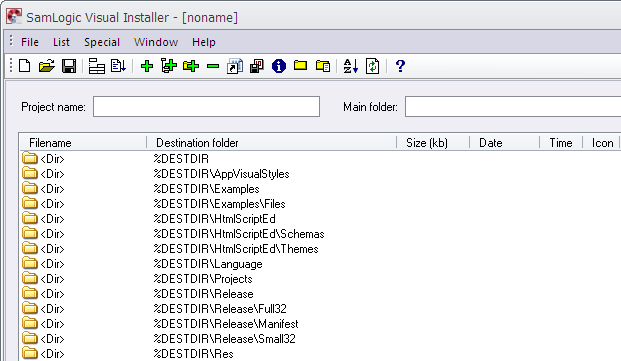
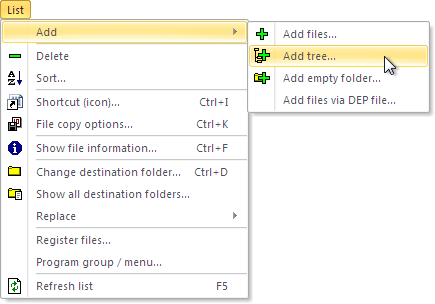
If you already have created a folder structure on your hard drive, with the files that you want to install, and want to create a similar folder structure on the destination drive, there is a very useful function in Visual Installer that you can use. The name of the function is Add tree and you can access it via the List menu in Visual Installer, by choosing the List – Add – Add tree menu item (see the picture below):
After you have chosen this menu item, the following dialog box is shown:
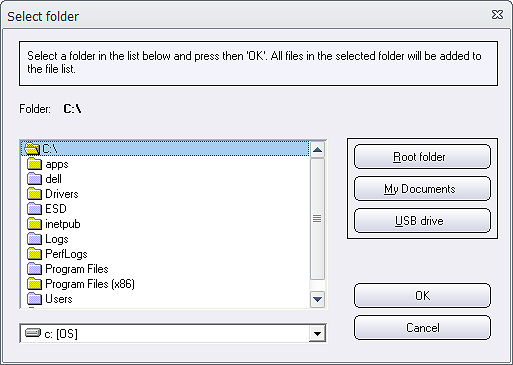
Via this dialog box you can browse to the folder, with sub folders and files, that you want to add to Visual Installer’s file list. For example like:
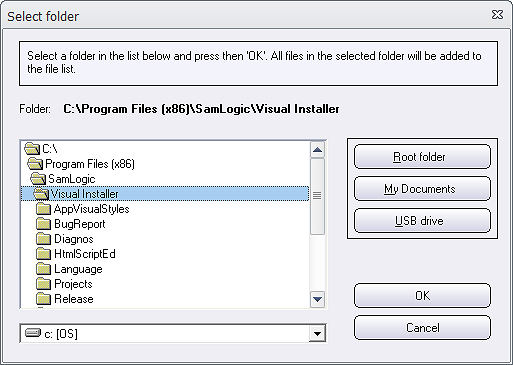
You can see the current folder path to the right of the Folder field name in the dialog box.
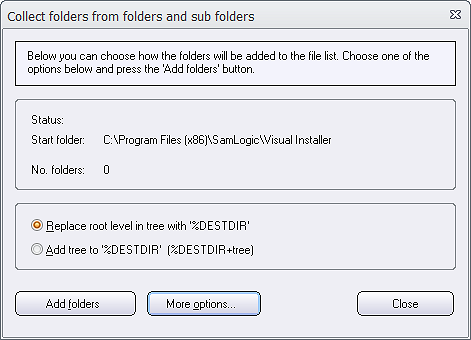
After you have selected your folder, you can click on the OK button to continue. The following dialog box will now be shown:
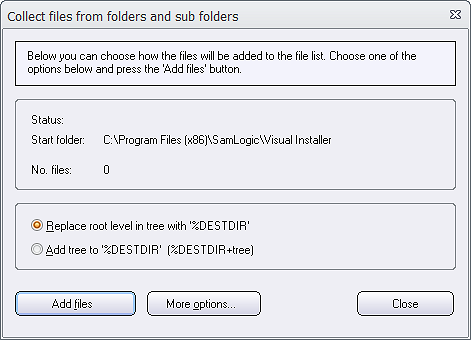
In the option frame (above the three buttons) you can choose how the folder structure will be built in Visual Installer’s file list. You can choose between replacing the root level of the folder tree with the %DESTDIR variable, or add the folder tree to the %DESTDIR variable.
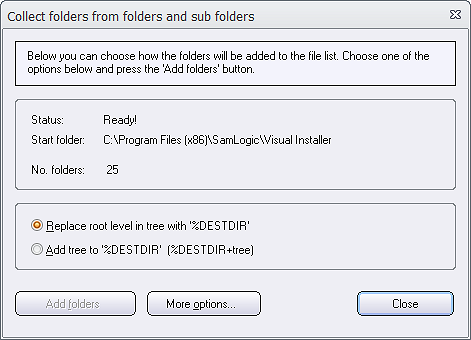
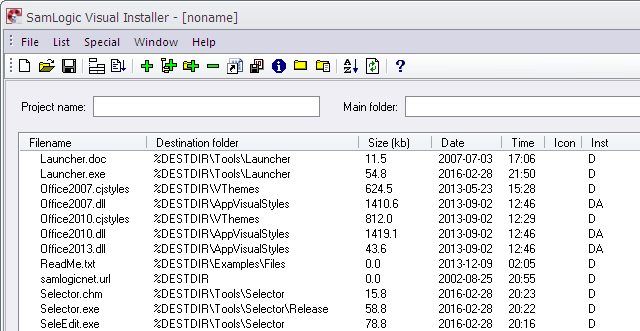
When you have decided how you want to build the folder tree, you can press the Add files button. Now Visual Installer’s file list will be filled with the files and folders. And you can see how many files that were collected in the No. files field name in the dialog box:
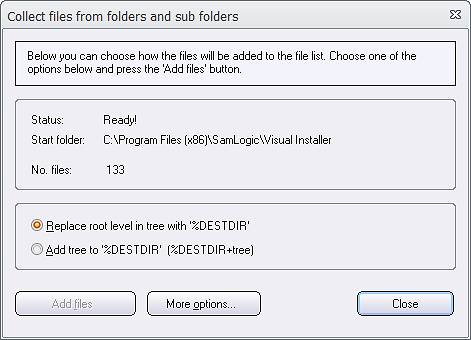
To return to the file list, just press Close in the dialog box.
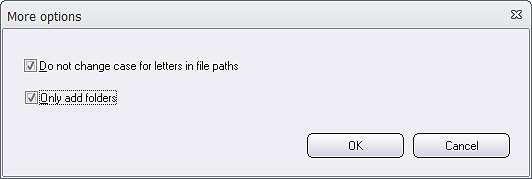
How to obtain only folders of a folder tree
Instead of collecting the files in a folder tree you can also extract only the folders (directories) of the tree and skip all files. In this blog post we explain how to do this.