In
the
Getting Started with Visual Installer tip we showed how to
create a basic setup project that contains one program file and
one text file. If you install a program file, you probably want
to create a shortcut (icon) that is linked to the file. When a
user clicks on the icon, the program file is run.
This is very easy done in Visual Installer, and the following
step-by-step tip will show you how to add a shortcut to a
program file in the file list. When the setup package is run,
the shortcut will be added to the Program menu in
Windows.
|
How to add a shortcut to
a program: |
1. Start Visual Installer.
2. Open an installation
project; for example the project created in the
Getting Started tip.
Or create a new project.
3.
Select a program file in the file list.
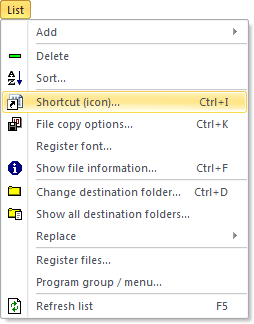
4.
Select the Shortcut (icon) menu item from the List
menu:
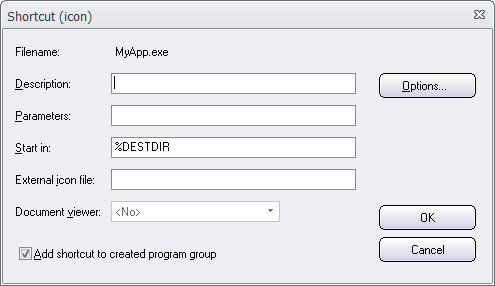
5.
The Shortcut (icon) dialog box is now shown. It looks
like:
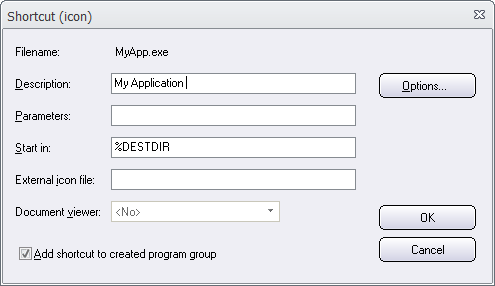
6.
Enter a description for the shortcut in the Description
text box. For example: "My Application":
6.
Click OK to close the dialog box.
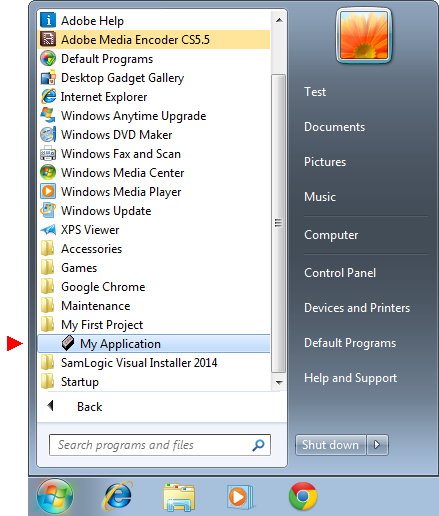
That's all you need to do! When you run the installation, a menu
with the same name as the project name will be created in
Windows. In this menu you will find a shortcut (icon) and the
description that you entered above. It will look similar to
this:
Using the same name for the menu as the project name is
optional. If you want to use another name, you can open the
Program group / menu item in the List menu, and enter
another menu name.
|


