If
you have created a .NET application that requires a specific
version of .NET Framework to be installed in the system, you can
make Visual Installer to do a test before the installation
starts. If the required version of .NET is not installed in the
system, you can make Visual Installer stop the installation or
download the missing .NET version from the Internet.
In the tip below, we will show how to create an installation that
requires that .NET Framework version 4.5 is installed in the
system. If not, the installation is stopped.
|
How to prevent an
installation
if the required .NET version is not installed: |
1. Start Visual Installer and open your current
installation project, or create a new project.
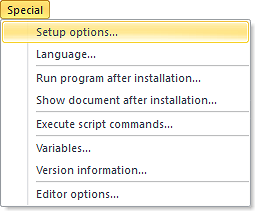
2.
Select the Setup options menu item from the Special
menu:
3.
In the dialog box that is shown, open the .NET
tab.
4.
Check the Check that Microsoft .NET Framework is installed
option.
5.
In the Minimum version combo box, select the .NET
Framework version 4.5 option.
6.
At If .NET Framework is missing, select the Stop the
installation option.
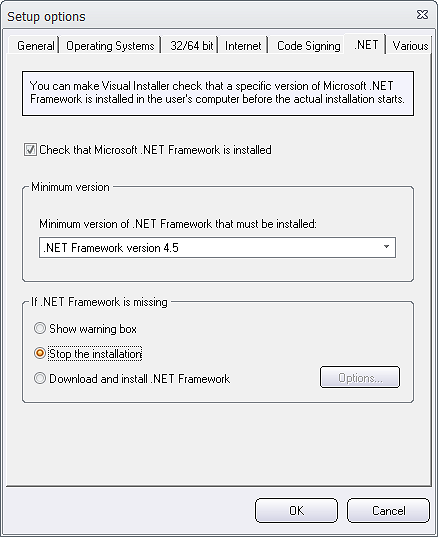
7. Click OK to close the dialog box.
The installer will now only allow an installation if the
installed version of .NET Framework is 4.5 or later. If the
installed version of .NET is older, an information message is
shown for the user and the installation is stopped.
You
can also
let Visual Installer download the missing version of
.NET Framework
Instead of stopping the installation you can let Visual
Installer download the missing version of .NET
Framework. You can do this by selecting the Download
and install .NET Framework option instead of the Stop the
installation option. If you click on the Options
button, you can choose a language for the download page
and set some other options.
Read more. |
|


