It
is common to want to present several different articles
(products) in a newsletter. Which articles you want to present
can also change between different newsletters. To handle this in
a flexible and uniform way, there is a function called
Product Gallery in
MultiMailer.
With the Product Gallery function, you can create a
database of articles, containing images, texts, hyperlinks,
prices, etc., and then you can insert this information at any
point in the newsletter. You can also easily update the
information afterwards.
In the tips below, we show how you can use this function.
|
To insert a product
gallery in a newsletter: |
1. Start MultiMailer.
2. Create a new newsletter or open an existing one.
3. Place the cursor at the place in the newsletter where
you want the product gallery.
4. Select the menu item Insert - Product Gallery.
The dialog box shown below should now appear:
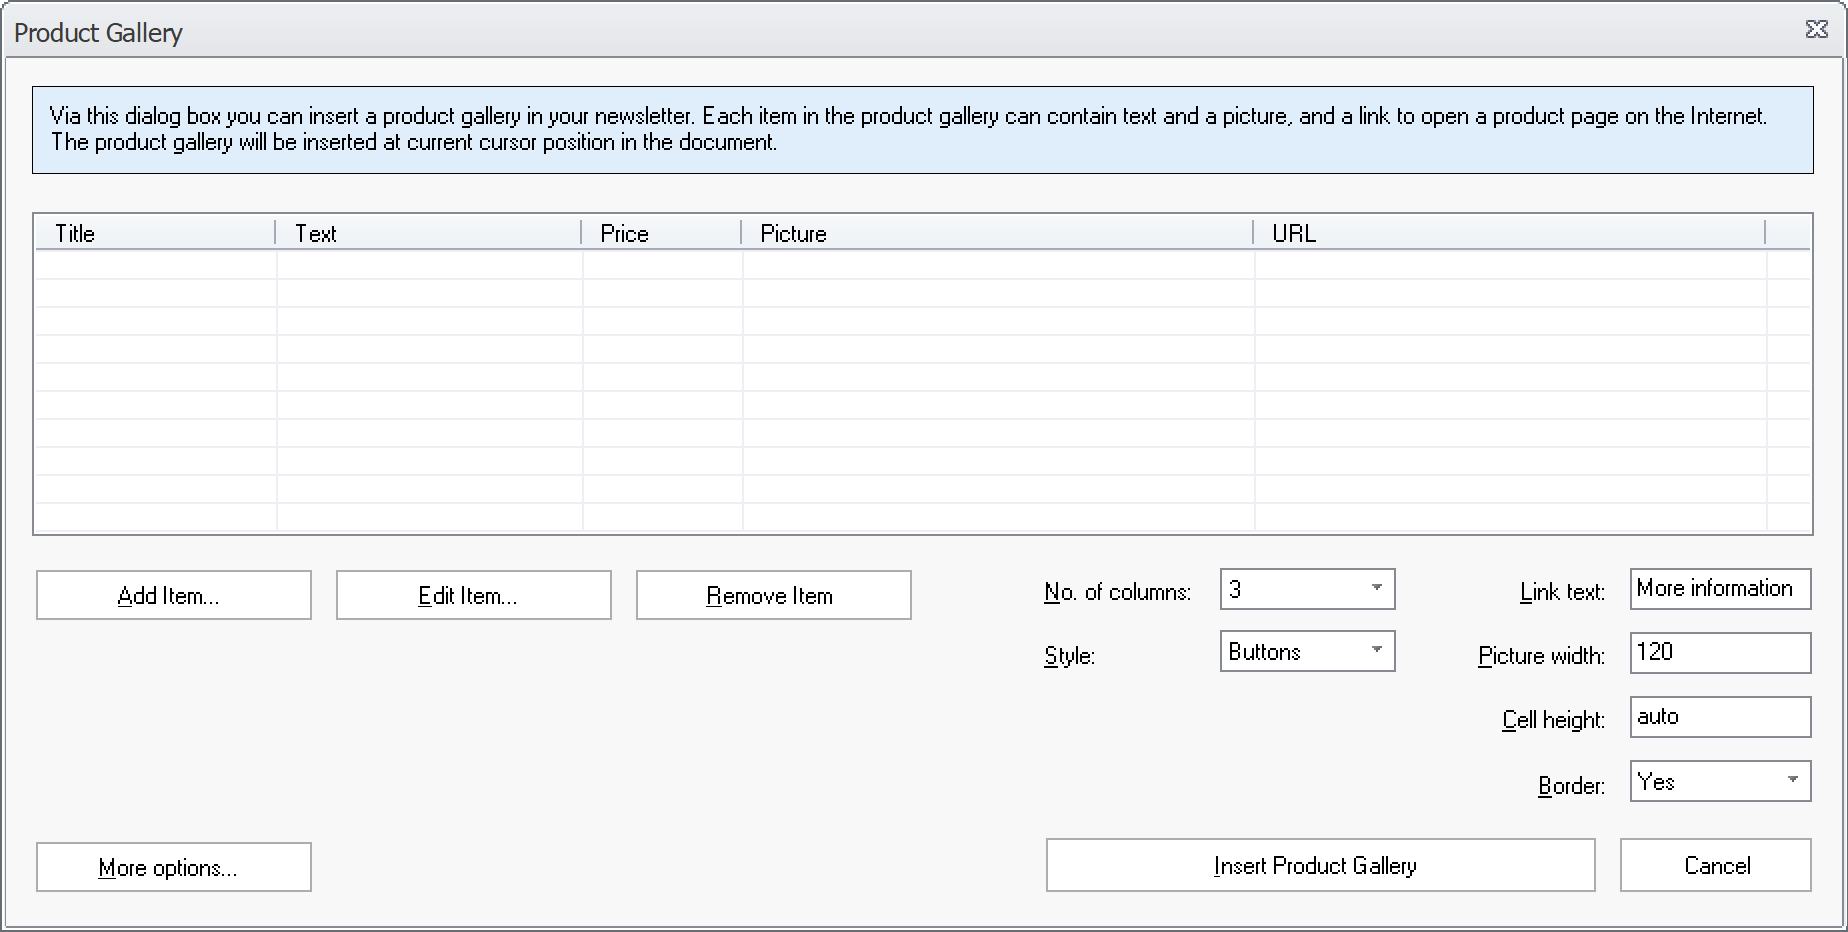
5. Click the Add Item button to add your first
product.
6. The dialog box shown below should now appear:
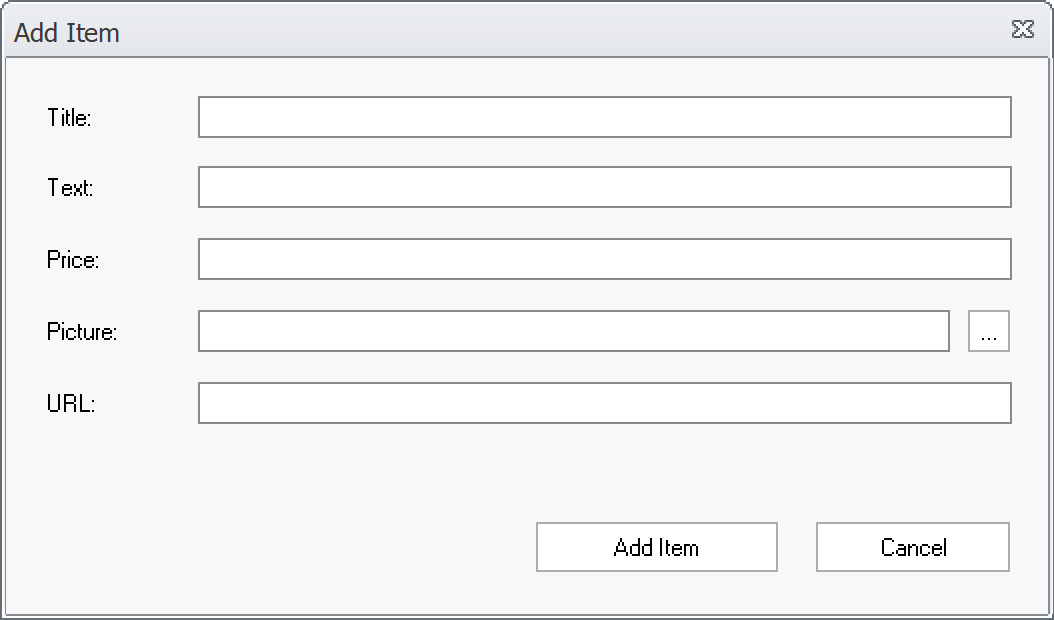
7. Enter a title/name for the product at Title.
8. Enter a short description of the product at Text.
9. If you want to include a price, enter it at Price.
Otherwise, leave the field blank.
10. Select (browse for) a product picture by pressing the
"..." button to the right of Picture.
Alternatively, you can enter a web address to a picture on the
internet.
11. At URL, enter a web address to a web page that
provides more information about the product.
12. Review the information you have entered. Is
everything OK?
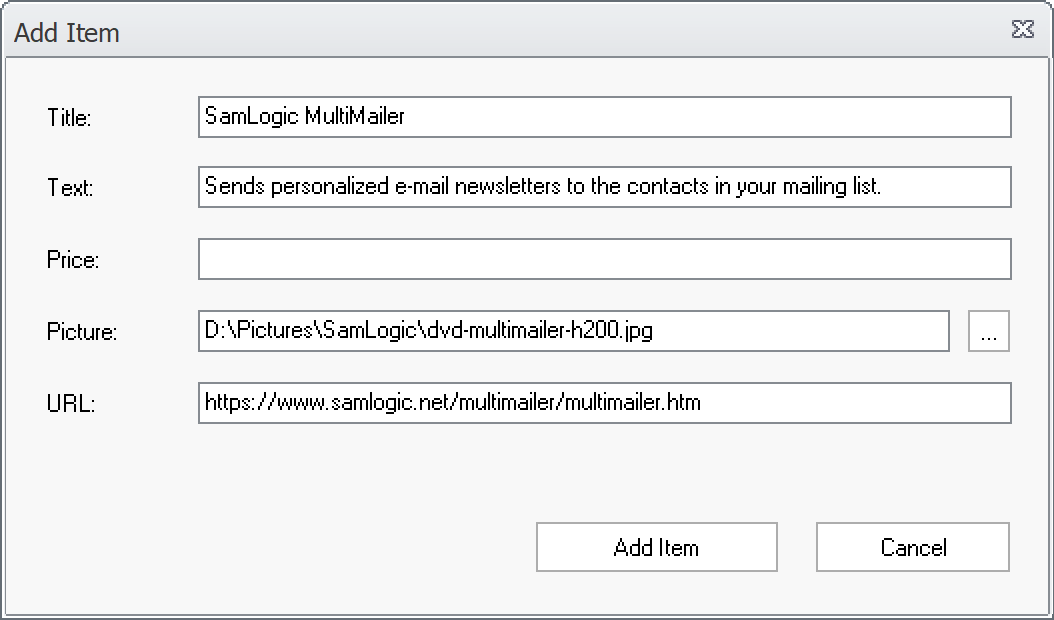
13. If you are satisfied, click the Add Item
button to add the item to the product gallery.
14. Now click on the Add Item button in the
Product Gallery dialog box again to add more articles.
15. When you have entered the articles you want, you can
specify how many columns you want to use for the product gallery
by specifying a number at No. of columns.
16. At Picture width, you can enter a desired
width in pixels for the product images.
17. Now the product gallery content has been created!
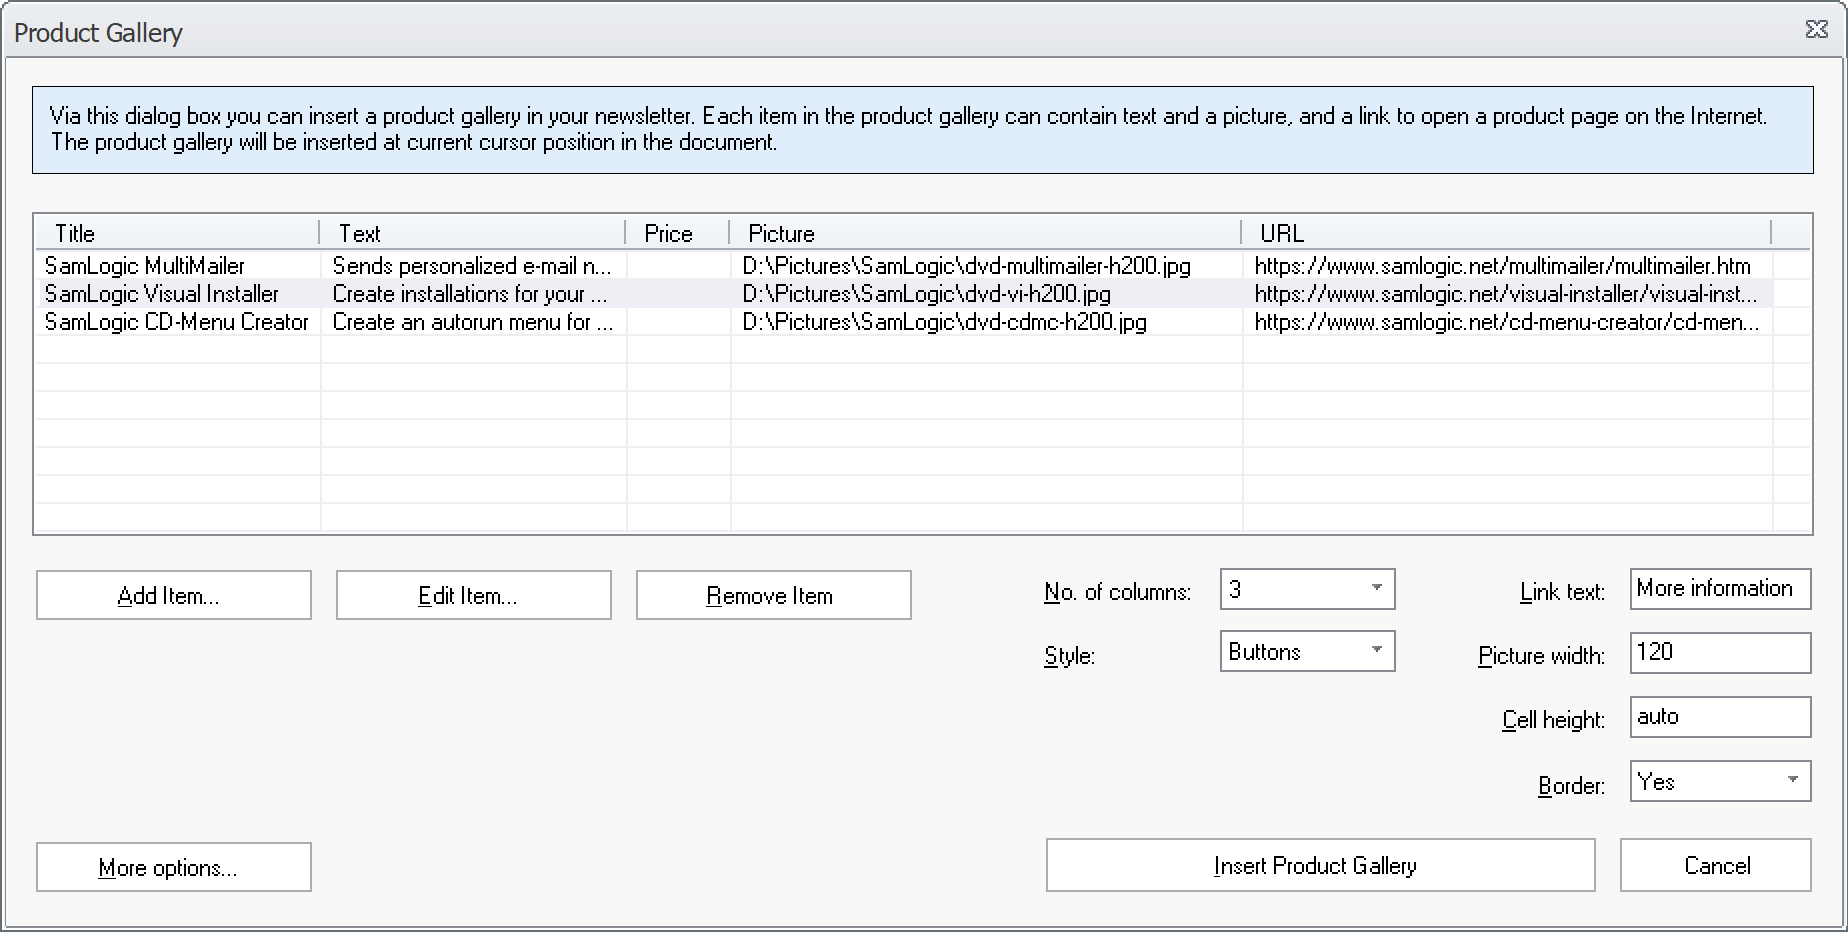
18. Now click the Insert Product Gallery button to
insert the product galleri into the newsletter.
19. The image below shows how it may look like when a
product gallery is inserted into a newsletter:
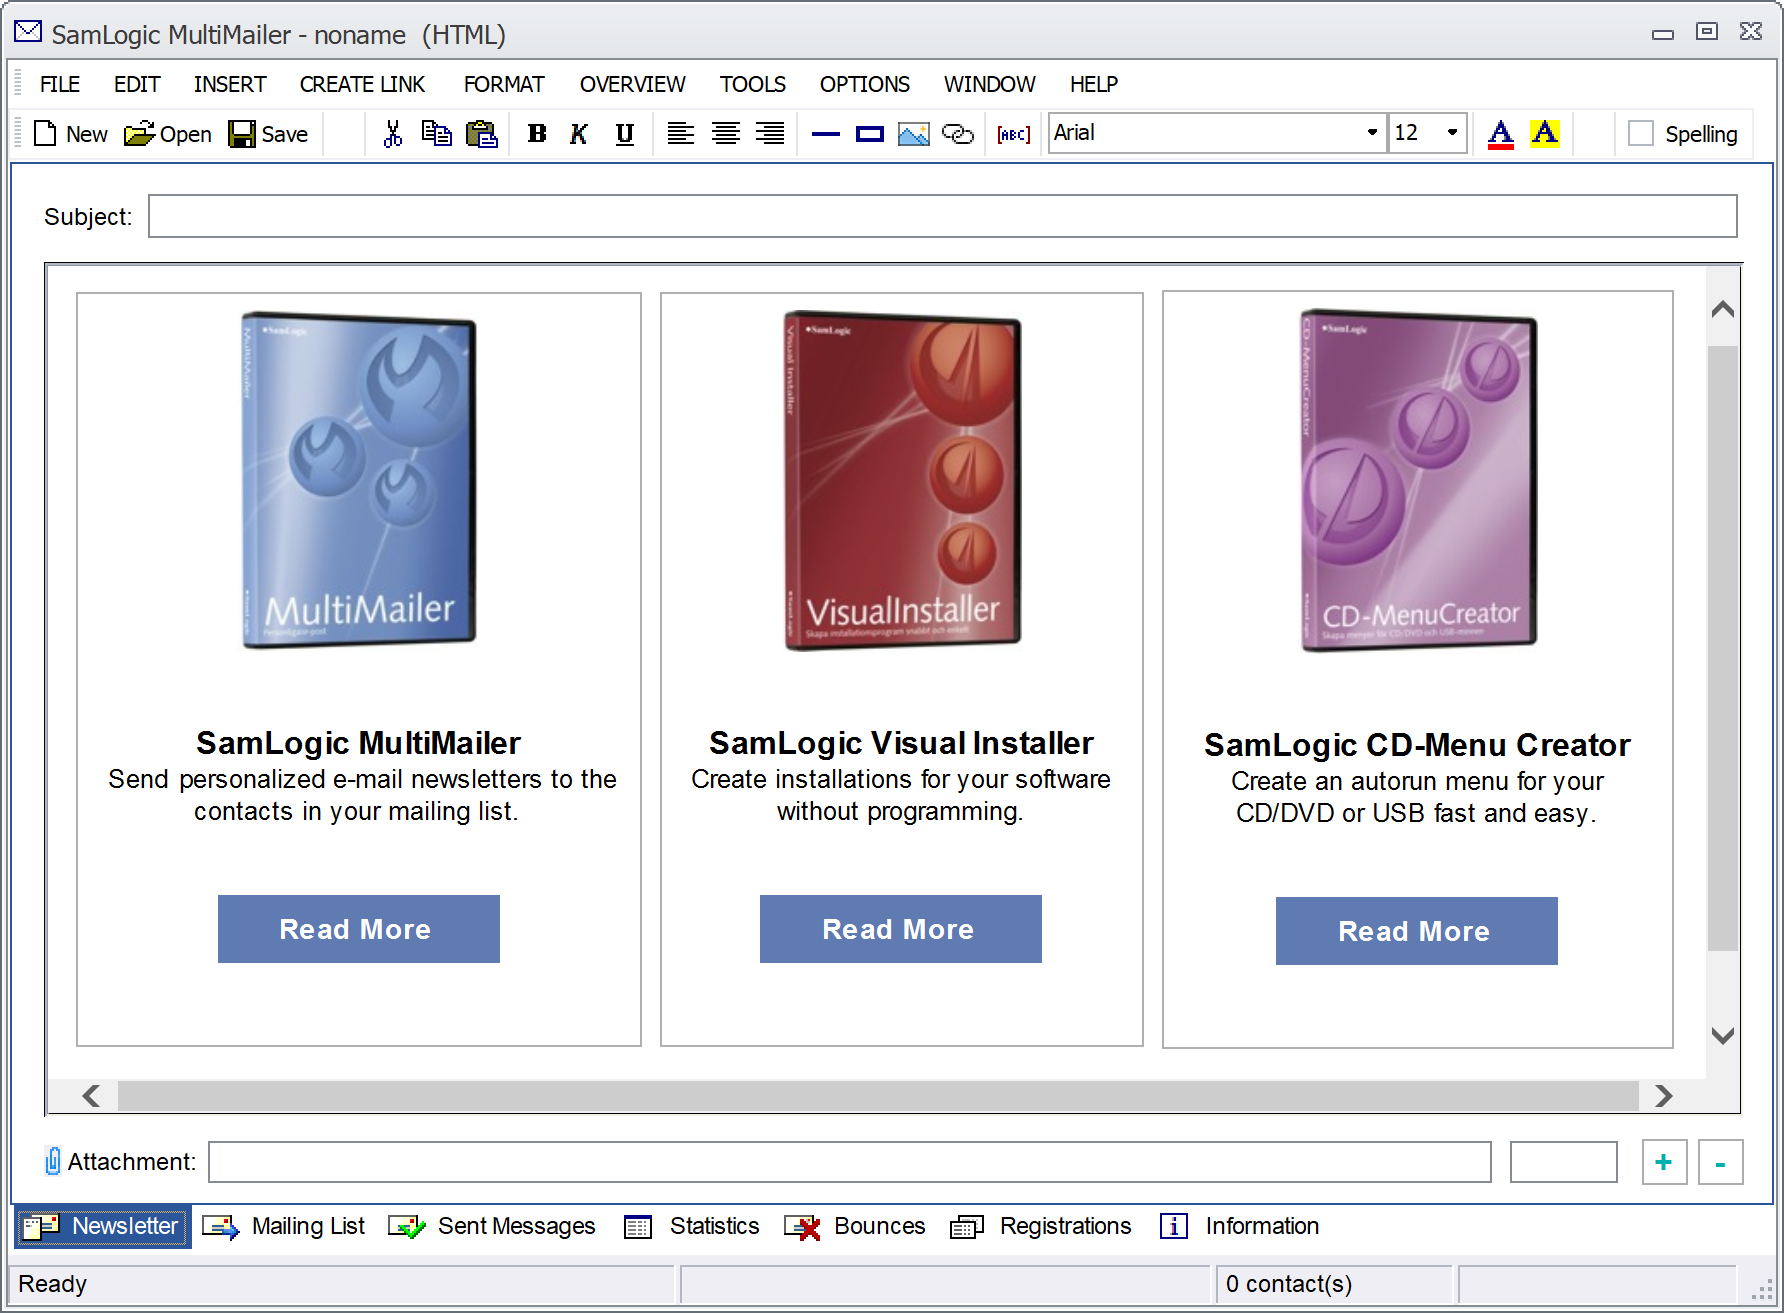
If you want to update a product gallery that has been inserted
into a newsletter, place the cursor in the middle of the product
gallery and select the menu item Insert - Product Gallery
again. In this way you can edit the contents of a product
gallery.
| More information on how
to use the Product Gallery feature in MultiMailer can be
found in the program's help documentation. After opening
the Product Gallery dialog box, press F1
to open the appropriate help section. |
|


