Tip: How to code sign a setup package

Code signing is important
 Today
it is important to
code sign a
setup package, especially if the setup will be distributed via
the Internet. The digital signature that is added to the setup
package assures that the setup program and the files to install
have not been tampered with, or infected by malware, since the
creation. A code signed setup package also generates fewer
warning messages, and those messages that are shown are not so
harsh. For more details, see
this information page. Today
it is important to
code sign a
setup package, especially if the setup will be distributed via
the Internet. The digital signature that is added to the setup
package assures that the setup program and the files to install
have not been tampered with, or infected by malware, since the
creation. A code signed setup package also generates fewer
warning messages, and those messages that are shown are not so
harsh. For more details, see
this information page.
Visual Installer can code sign a setup package automatically
In this step-by-step tip we will show how to
make
Visual Installer code sign an installation, after it has
packed the files and created a setup package. Visual Installer
can code sign an installation automatically, during the creation
process, so no manual work is needed.
Choose correct tip
The steps below will be different depending on if your digital
certificate was delivered on a USB token (USB stick) or on a
file (from the web). Choose correct tip below:
My digital certificate was delivered on a:
|
|
|
If your digital certificate was delivered on a file (from the
web) you can follow the steps below:
|
How to create a code signed setup package: |
1. Start Visual Installer and open an installation
project.
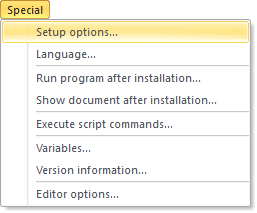
2.
Select the
Special - Setup options menu item:
3.
Open the Code Signing tab in the Setup options
dialog box:
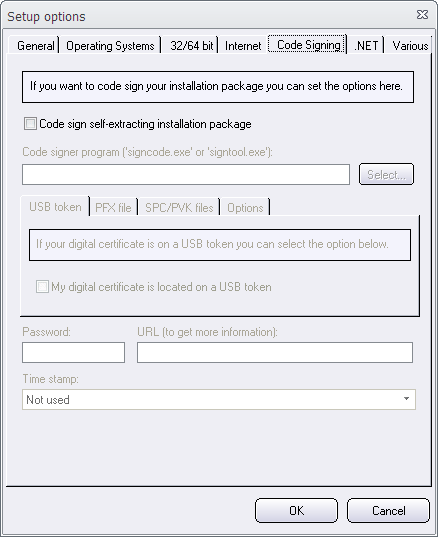
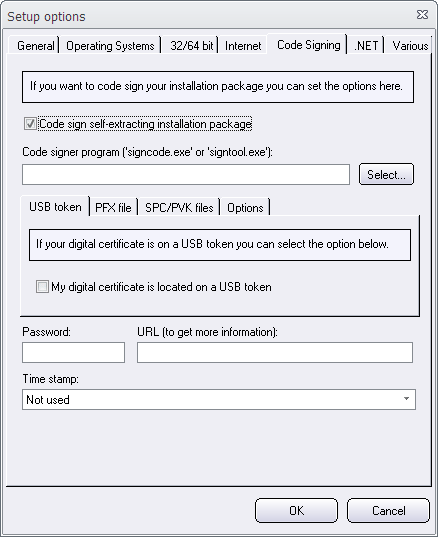
4.
Select the Code sign self-extracting installation package
option in the dialog box. The other controls in the dialog
box will now be available:
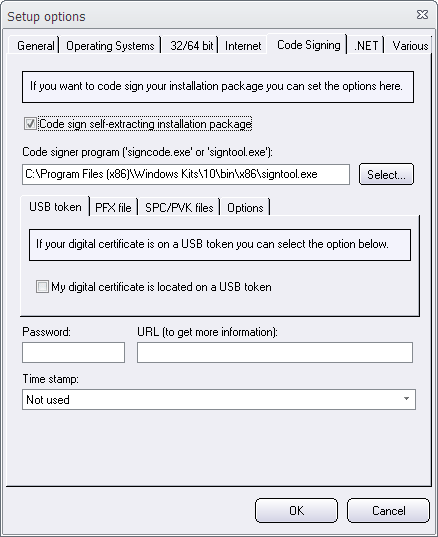
5.
If Visual Installer can find a proper code signing tool on your
hard disk, it will display the file path to the tool in Code
signer program text box automatically:
6. If the Code
signer program text box is empty, Visual Installer can not
find a tool automatically, but you can click on the Select
button to the right of the text box to choose a tool manually.
The
filename of the tool must be signcode.exe or
signtool.exe. The selected program will be run during the code signing
process. If you have both files on your hard disk, you should
choose
signtool.exe in first place. If you want to have highest
possible security, you must choose
signtool.exe. If you have different versions of
signtool.exe on your hard disk, choose the newest file
version.
On this page you can read how to find the newest
version of
signtool.exe.
7. Now you need to select a personal information exchange
(.pfx) file. You can do this by clicking on the Select
button to the right of the Certificate (.pfx) text box
and browse after the file. The filename of the personal
information exchange is usually .pfx.
If you
don't have a .pfx file, you can read the More information
section in the bottom of this tip page to get information about how
to get this file. In some
cases you can choose a certificate (.spc) file and a private key
(.pvk) file instead. You can read more about these two files on
this page.
8. Now you must choose a hash algorithm. This is done via
the Options sub tab in the Code Signing tab. If
you have quite a new version of
signtool.exe available on your hard disk, we recommend you
to select the Use SHA-1 and SHA-2 option in
the Options sub tab.
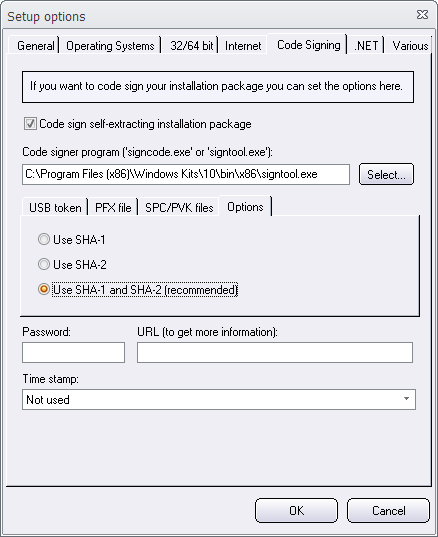
You can read more about the two hash algorithms (SHA-1 and
SHA-2) on
this page.
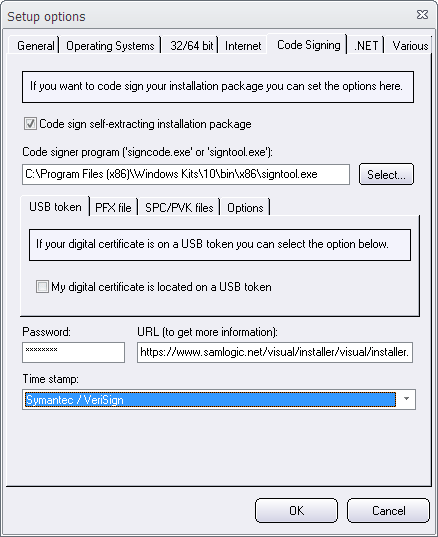
9.
Enter the password associated with the private key file at the
Password text box.
10.
At the URL text box in the dialog box, enter a URL (web
address) to a page on the Internet that contains information
about your product and your installation. The URL must begin
with a "http://" or "https://" prefix, for example:
"https://www.samlogic.net/visual-installer/visual-installer.htm".
10.
Select a time stamp in the Time stamp combo box, for
example "Symantec / VeriSign".
11.
Press OK to close the Setup options dialog box.
12.
Now create a setup package by choosing the File - Create
setup package menu option in the editor. When the creation
process is finished, you will have a code signed setup package!
| When
Visual Installer creates a setup package and code signs
the package, the signcode.exe or signtool.exe
tool is run via the Command Prompt. Therefore the
Command Prompt window will flash on the screen for a
second. If you have chosen the signcode.exe
program, the program may ask for a password. You must
then enter the same password that you specified in step
9 in the tip above. |
The
settings that you specified above will be saved with the project
file, so the next time you open the same project you only need
to create the setup package. You don't need to follow all steps
above once again. You only need to follow the steps if you
create a completely new installation project.
If you want
to view the digital signature for your setup package closer you
can right-click on the setup file in Windows Explorer and choose
the Properties menu item. Thereafter you can open the
Digital Signatures tab in the dialog box. For more details,
read the What is
Code Signing article on our site.
|
< Tips Index Page
|
 |
Visual
Installer Tip |
|
|


