|
Getting Started
With Visual Installer (1 of 5) |
 |
Visual
Installer Tip |
|
|
|

| In the
following pages we will show how to create a basic installation
project with our easy-to-use setup tool SamLogic
Visual Installer. We will show how to start a new project,
how to choose a main destination folder for your installation,
how to add files and how to specify texts for the installation
dialog boxes. We will also show how to save a project and
how to build (compile) a setup package. |
 |
This tip
is also available as a
video. |
|
|
|
Choose a basic project
type |
1. Start Visual Installer.
2.
The Choose Project dialog box will be shown automatically
when Visual Installer starts. Click on the New Project
link:
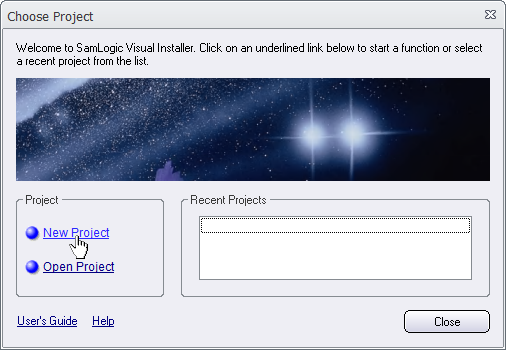
(if you are already running Visual Installer you can open the
File menu and select New project instead,
read more)
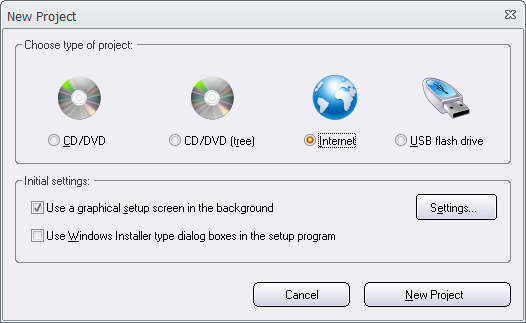
3.
The New Project dialog box is now shown. Click on the
Internet option in this dialog box:
|
4. |
And
now uncheck the Use a graphical setup screen in the
background option and check the Use Windows Installer
type dialog boxes in the setup program option: |
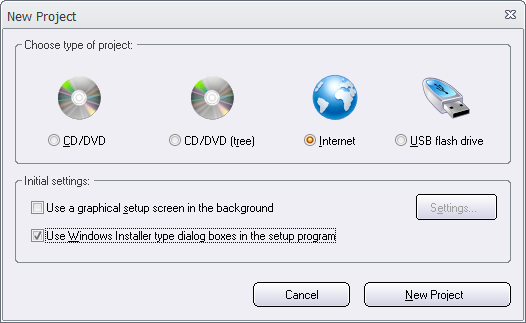
5.
Thereafter, click on the New Project button.
| |
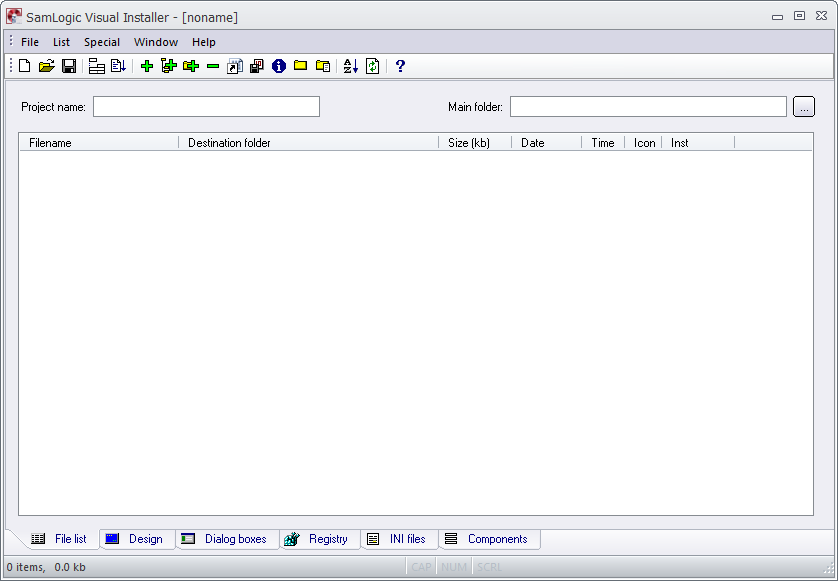
You
have now set some basic settings that informs Visual Installer that you want to
make an installation project for distribution via
the Internet and that you want to use setup dialog boxes of
Windows Installer type, and that you do not want to show
a background window (setup screen) behind the setup
dialog boxes.
The
File list tab of Visual Installer is now shown: |
|
|
On the next
page we will show how to enter a project name and how to
choose a main destination folder for the installation project.
Click on the Next Page link below to continue. |
|


