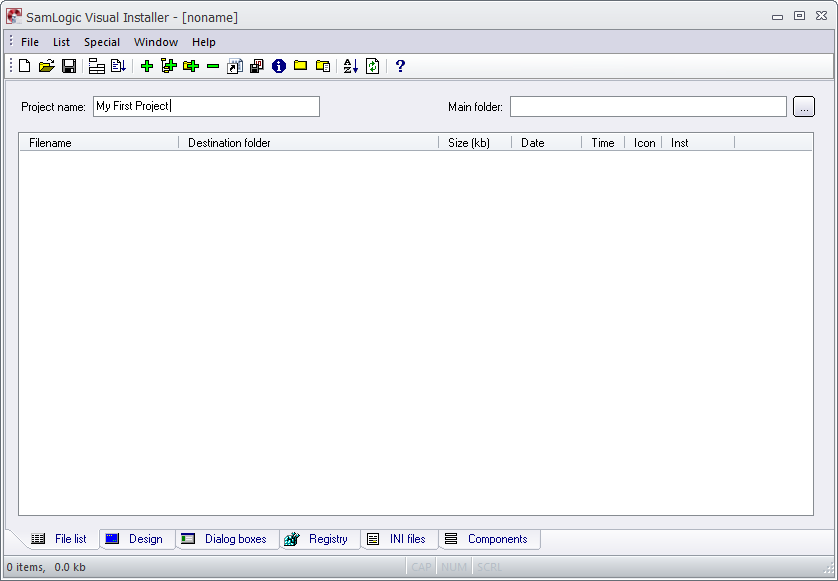
| Below we will show how to
enter a project name and how to choose a main destination folder
for the installation project. The project name is used to
identify the project. The project name is also shown for the
user when he/she wants to uninstall your installed files. The
main destination folder is the default destination folder that
is shown for the user during the installation. |
|
Enter a project name and
specify a main destination folder |
6. Enter a project name in the Project name text
box, for example "My First Project":
|
7. |
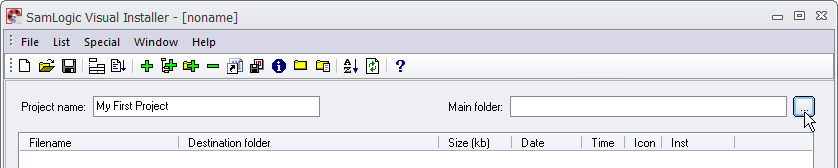
We
will now choose a main destination folder for the
installation. The main destination folder is shown for
the user as a default installation folder during the
installation. The user can change this folder if he/she prefer another folder. To
specify a main destination folder, first click on the "..."
button to the right of the Main folder text box: |
|
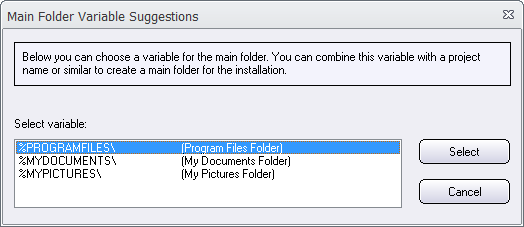
8. |
The
Main Folder Variable Suggestions dialog box (as
shown in the picture below) now opens.
In this dialog box, select the "%PROGRAM FILES (Program
Files Folder) variable in the list with
variables: |
|
9. |
Thereafter, click on the Select button. The
dialog box is closed and the Main
folder text box in the File list tab will now have this contents: |
|
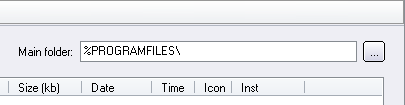
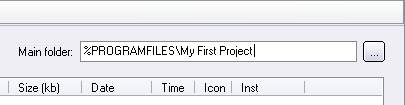
10. |
%PROGRAMFILES is a variable which contents is read
automatically from the system during an installation.
The contents is usually C:\Program Files or
C:\Program Files (x86). We need a variable because
we can not know in advance which path will be used. The
end-user will not see the variable, instead he/she will
se the actual path.
Specifying %PROGRAMFILES is not enough. We also
need to specify a sub folder that will be used as a
destination folder for our files. You can do it by
adding (entering) a folder name to the right of the
%PROGRAMFILES variable. For example, you can enter
"My First Project" as shown in the picture below: |
|
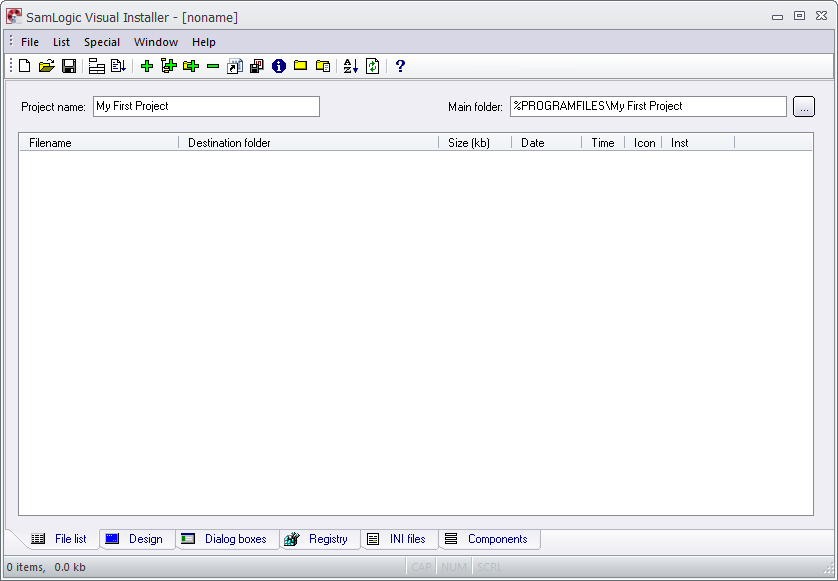
11. |
You
have now specified a project name and a main destination
folder for your installation project. The contents of
Visual Installer's File list tab should now be
the following: |
|


