|
Getting Started
With Visual Installer (3 of 5) |
 |
Visual
Installer Tip |
|
|
|

| Below
we will show how to add files to your setup project. We
will also show how to choose a destination folder for
each file. |
|
Select which files to
install |
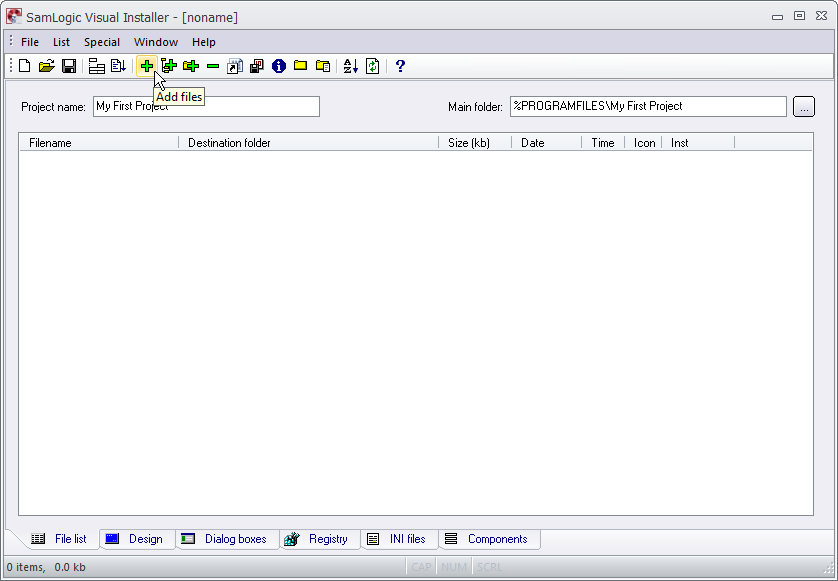
12. It is quite easy to add files to a installation
project. First you need to click on the "+" sign in
the button toolbar:
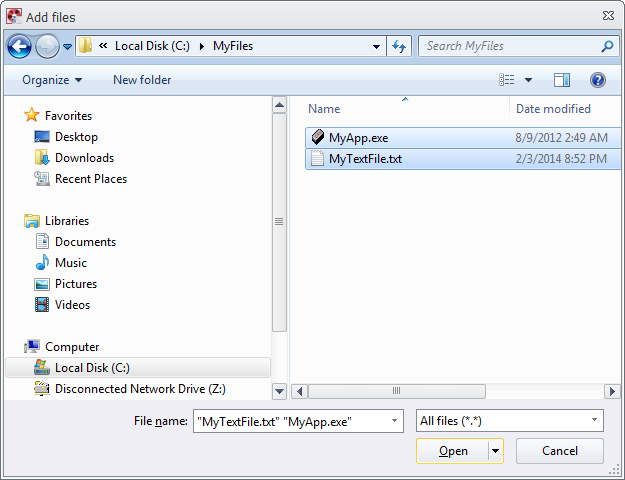
13. Thereafter you need to browse after the files you
want to add to the file list, and select them:
|
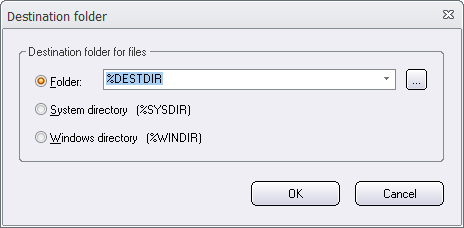
14. |
Then
you click Open in the Add files dialog box
to choose the files. Now is the Destination folder
dialog box shown: |
|
15. |
In the
Destination folder dialog box you will choose a
destination folder for the files. As default, the
%DESTDIR variable is chosen as a default destination
folder. The %DESTDIR variable will contain the
path that you specified in the Main folder text
box in the File list tab:
 |
|
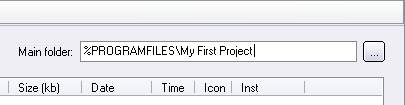
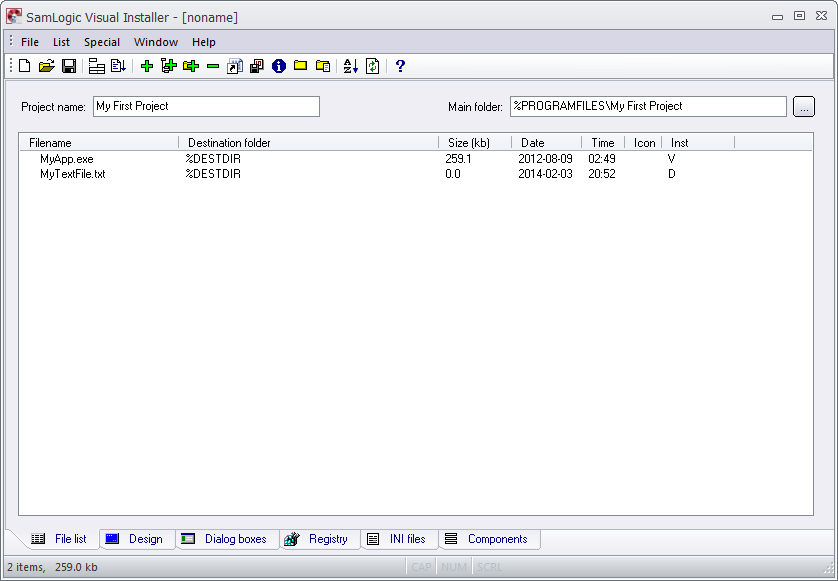
16. |
If you
want to install your files to this location, you can use
%DESTDIR variable as a default and press OK in the
Destination folder dialog box. The files will now
be added to the file list. The File list tab will
look like: |
|
|
We have now chosen which files to install and where to install
them. On the next page we will show how to add text to the setup
dialog boxes that are shown for the end-user during the
installation. Click on the Next Page link below to continue. |
|


