
![]() There are some common questions about titles in Visual Installer that we get then and then from new customers. You will find the questions and answers below, and if you are new to Visual Installer we recommend you to read the questions and the answers:
There are some common questions about titles in Visual Installer that we get then and then from new customers. You will find the questions and answers below, and if you are new to Visual Installer we recommend you to read the questions and the answers:
Questions and answers:
#1
Q: I have created my first installation. But when the software is installing, there is the word “Title” in the top left hand corner of the graphical window. How can I change that to my application name?
A: If you want to change the text of the title in the graphical setup window to another text, you can follow the steps below:
1. Open the Design tab in the editor.
2. Select the menu option Object – Title.
3. The following dialog box is opened:
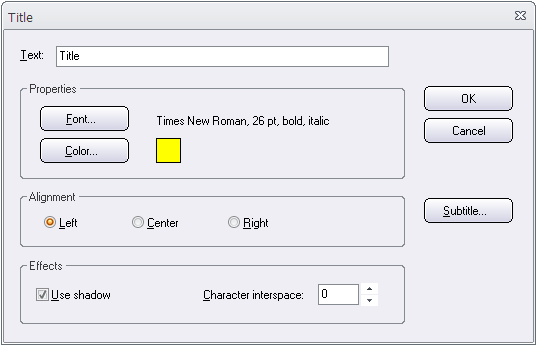
4. Enter a new title at Text. Enter for example your application name here.
5. Click OK to close the dialog box.
The title is now updated. If you also want to add a subtitle, you can press the Subtitle button in the Title dialog box.
#2
Q: I have put the application name in the title of the graphical window. But all of that text is covered up by the installation dialog boxes in the beginning of the installation. How do I make this text visible?
A: There are two things that you can look at:
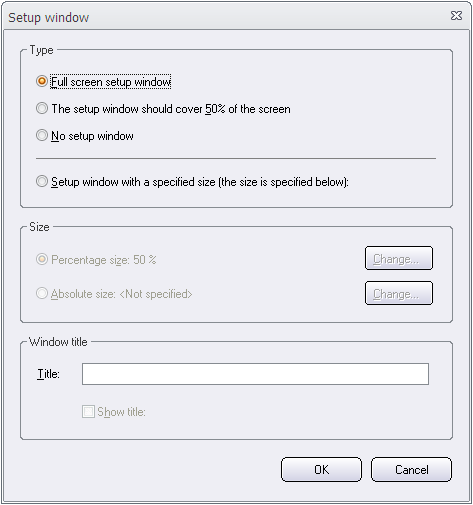
1. You can adjust the size of the graphical setup window by opening the Object – Setup window menu item in the editor and adjust the windows size in the dialog box that is shown. Full screen size is the biggest size. But you can also have another size.
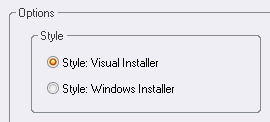
2. In the Dialog boxes tab in the editor you can choose the “Style: Visual Installer” style, if you have not. It creates smaller dialog boxes.
#3
Q: In the Setup window dialog box in the editor, there is a Title input box in the Window title frame. What is the difference between this title and the title that is specified when choosing the Object – Title menu item?
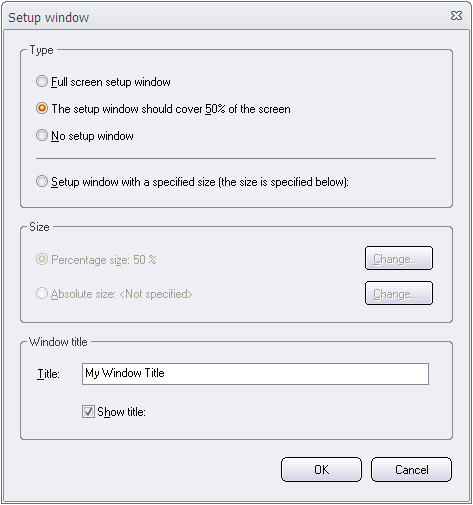
A: The title that you specify in the Title input box in the Setup window dialog box (see the picture below) is shown in Window’s task bar, and in the caption bar of the setup window if you have also selected the Show title option in the dialog box.
The title that you specify via the Object – Title menu item is the title that is shown in the graphical setup window. You can change font, colors, size, alignment etc. for this title.
More information
![]() If you want more information about the settings in the dialog boxes above, you can press the F1 button on your keyboard when the dialog box is open. We recommend you also to take a look on Visual Installer’s tips and tricks pages:
If you want more information about the settings in the dialog boxes above, you can press the F1 button on your keyboard when the dialog box is open. We recommend you also to take a look on Visual Installer’s tips and tricks pages:
 One common operation is to copy or move files during an installation. There are commands available in Visual Installer’s script language that can do this. If you need to copy or move many files at once, you can use the MCOPY and MMOVE commands for this purpose. Below is the syntax of these two commands described: