In a previous blog post we showed how to add an ActiveX control to a Microsoft Visual Basic 2010 project. In this blog post we will show how to add an ActiveX control to a Microsoft Visual C++ 2010 project. We will also show how to create a variable that can be used to access properties and methods in the ActiveX control.

In this step-by-step tip we will use the Twitter control that is included in our SamLogic Social Media Components component library. This control can be used to send tweets to Twitter, and we will show how to add this control to a Visual C++ project. Although this tip will cover Microsoft Visual C++ 2010, the steps in other versions of Visual C++ are very similar.
How to add an ActiveX component to a Visual C++ 2010 project
1. Start Visual Studio 2010 and choose New project in the File menu.
2. Select the MFC Application option in the Visual C++ node in the New project dialog box.

3. In the MFC Application Wizard window that is shown, choose Dialog based in the Application Type step. We will create a dialog based Windows application.
4. In the Advanced Features step in the MFC Application Wizard, make sure that the ActiveX controls option is selected.
5. In the last step of the MFC Application Wizard, click on the Finish button.
We have now created a basic Visual C++ / MFC project that uses a dialog based window. Next will show how to add the Twitter ActiveX control to the project:
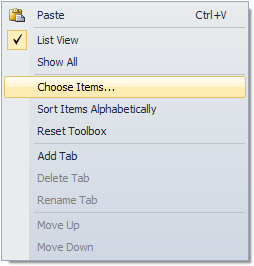
6. Right-click over the Toolbox window.
7. Select the Choose items menu item in the local menu that is shown.
8. The Choose Toolbox Items dialog box is now shown. In this dialog box, open the COM Components tab.
9. If you have installed the Twitter component and want to use it, select the SLTwitCtrl control in the list. Otherwise, select the ActiveX component that you want to use.
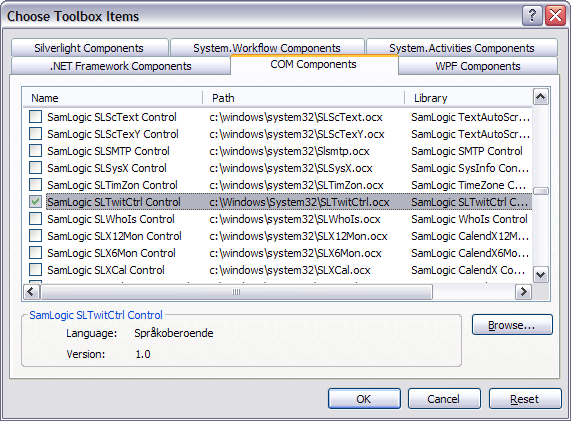
10. Click OK to close the dialog box.
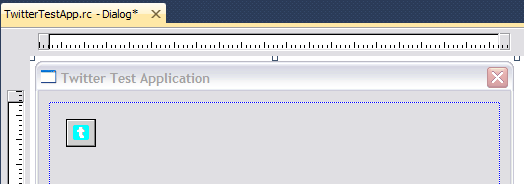
11. The selected component should be visible in the Toolbox window; probably in the bottom of the window.
12. Now drag and drop the component on the dialog box.
We have now included an ActiveX component into a Visual C++ 2010 project and put it in a dialog box. We will now show how to create a variable that can be used to access properties and methods in the ActiveX control.
13. Right-click on the ActiveX control in the dialog box window.
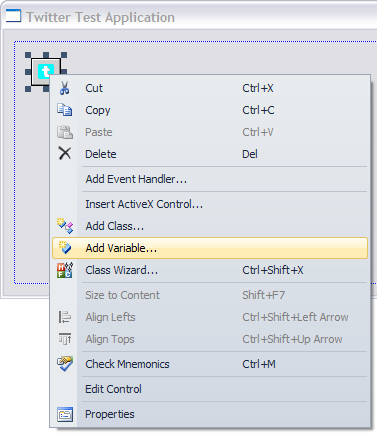
14. Click on the Add Variable menu item in the local menu that is shown.
15. Enter a variable name in the dialog box that is shown, for example: SLTwitterCtrl.
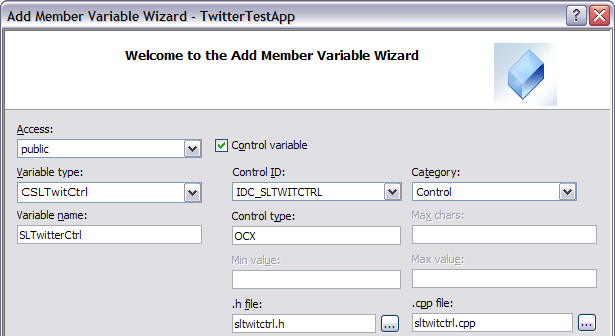
15. Click Finish to close the dialog box and create the variable
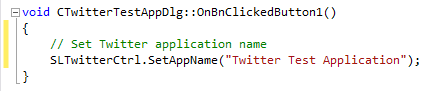
16. We have now created a variable that can be used to access properties and methods in the ActiveX control. The example below shows how to access the AppName property in SamLogic’s Twitter Control (it sets the ActiveX property to “Twitter Test Application”):
Related Blog Posts
> How to add an ActiveX component to a Visual Basic 2010 project
> How to add an ActiveX component to an Excel 2010 sheet

 As you may already know, and as we described in an
 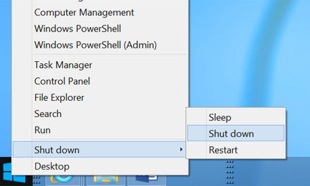 Windows 8.1 – Right-click menu