Many programmers still use VB 6.0
There are still lots of people that develop software with VB 6.0 (Visual Basic 6.0). VB 6.0 is an excellent programming language and programming tool that can be used to create a desktop program for the Windows system. A created program starts fast and runs fast also in an average computer, and by using a third party component like CommandBars from CodeJock, the VB6 desktop program can have a modern user interface, even with ribbons!
Not suited for large projects or Internet projects
However, for large projects or for applications that uses the Internet a lot, Visual Basic .NET is the preferable language. And if you are new to programming you should of course choose Visual Basic .NET for your software projects; for example the new Microsoft Visual Basic 2012. VB 6.0 is an old technology, and even if Microsoft still supports it to 100% in their Windows operating systems, this will not last forever.
The Package and Deployment Wizard
Many of our customers use VB6 for their projects, but the setup tool that follows Visual Basic 6.0 – the Package and Deployment Wizard – is quite limited, and it is difficult to create a professional setup program with a modern user interface using that tool. If you want to deploy a setup program with a professional and modern user interface you should use an external setup tool instead of the Package and Deployment Wizard.
Setup of a VB 6.0 program
A complete VB6 application consists of different types of files. For example an EXE file (the main program), ActiveX component files, DLL files, type libraries etc. So it is not possible to just take the EXE file and copy it to another computer. It will not work, unless all support files already have been installed with a previous installation. But to be sure you should always distribute and install all files that are needed to run your program.
It is also very important to install the files to the correct folders on the hard disk, especially in a 64 bit computer / 64-bit Windows. And many files, for example ActiveX components, also need to be registered in the system. Also other information need to be registered. Doing this manually is mostly too complicated, so a setup program is a must.
SamLogic Visual Installer has powerful functions for setup of VB 6.0 programs
Our setup tool SamLogic Visual Installer has powerful functions for setup of VB 6.0 programs. It can install VB6 program files, ActiveX components, DLL files, type libraries, databases, database engines (DAO, ADO, RDO etc.), and other types of files, in an automatic way. By analyzing your VB project file (the .VBP file) Visual Installer will know which files to include in the setup project. Visual Installer will collect the files automatically.
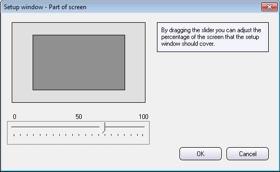
Visual Installer will also add a professional and modern user interface to your installation. Visual Installer can also handle license keys or password protect your installations. Created installations can be code signed and multiple languages can be used for an installation.
Supports Windows 8 and Windows 10
Visual Installer supports new operating systems like Windows 8 and Windows 10, but can also be used to create installation packages for older Windows like Windows 2000 and Windows XP.
More information
 If you want to read more about the SamLogic Visual Installer setup tool, you can click on the links below:
> SamLogic Visual Installer – a professional installation software
> Visual Installer can create a setup package for your Visual Basic project
Detailed information about how to import a VB 6.0 project file and create an installation of it is available in this step-by-step tip on our tips & tricks section:
> How to create an installation for a VB6 application


 Twitter is a popular social networking and microblogging service on the Web that let users send and read short text-based messages (up to 140 characters), also known as a “tweets”. We have now created an ActiveX component (Active control) that can be used to send messages (tweets) directly from desktop applications.
 We have updated
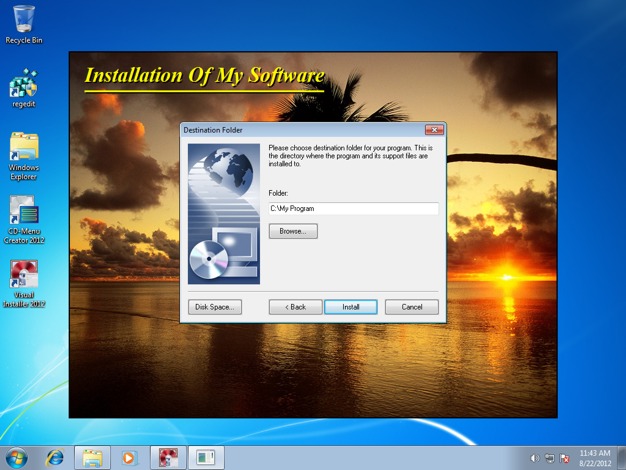
 Frederick Barton at the FindMySoft website has written a review of our newsletter marketing software
 If you have a newer version of the MultiMailer e-mail newsletter program you may have noticed that the program displays information about how many contacts that have opened and clicked on links in newsletters, and also who that have opened and clicked. All this is handled by two servers on the web. MultiMailer can download the information and show the statistics and data in the Statistics tab of the program.
 USB Menu Creator is a new product from SamLogic Software that can be used to create AutoRun menu interfaces for USB sticks / pen drives. The created menu interface will be opened automatically when the USB stick is plugged into a USB port in the end-user’s computer. From the menu the end-user can start a setup program, run an application, open a document, play a video or Flash animation, open a web page etc.
 Frederick Barton at the FindMySoft website has written a review of our product