Visual Installer supports PFX (Personal Information Exchange) files

We have updated Visual Installer so you can choose a PFX file (Personal Information Exchange file) directly from the Visual Installer editor, when you want to code sign a setup package. You don’t need to split the PFX file in a SPC file and a PVK file as before.

The Code Signing tab in the Setup options dialog box in the Visual Installer editor has been updated. In the picture above you can see how the new updated Code Signing tab looks like.

In the Code Signing tab there is now two sub tabs: PFX and SPC / PVK. In these tabs you can choose if you want to use a PFX file or a SPC and a PVK file during the code signing process. If you have specified a PFX file you don’t need to to specify a SPC and a PVK file. And vice versa.

More information about code signing in Visual Installer
More general information about code signing in Visual Installer is available on this web page:

> Visual Installer – Can create a code signed setup package

Visual Installer: You can set a relative size for the setup window

We have updated Visual Installer with a new function; you can now set a relative size for the setup window. The size is specified with a percent value, so the setup window will always cover a specified percentage of the screen. The percentage is easily specified using a visual slider (as shown in the picture to the right).

Below is a picture that shows how a setup window can cover a part of the screen.

Where to find the slider?
You can open the dialog box with the slider from two places in the program:

– Via the Object – Setup window menu item. Press the Change button to the right of the Percentage size option in the dialog box that is shown.

– When you choose a New project. Press the Settings button and Change size button.

(This function is available in Visual Installer version 9.5.20 and later.)

How to install files in the correct folder using Visual Installer

As described in this blog post, there exist two Program Files folders in a 64 bit computer with a 64 bit Windows. One folder is used as a storage place for 32 bit programs and the other folder is used as a storage place for 64 bit programs. And it is important that your program files are installed in the correct folder in a 64 bit system, otherwise there is a risk that your program will not function as expected.

Windows in different languages
If you create an application that may be installed in non-English versions of Windows it is important to know that the name of the Program Files folder may be different compared to the English version of Windows. For example in a Spanish version of Windows the name of the Program Files folder is Archivos de programa. In a Spanish 64 bit Windows, where 32 bit and 64 bit program files / binary files also must be placed in different folders, there will exist the following two folders on the user’s hard disk:

C:\Arquivos de Programas : For 64 bit files
C:\Arquivos de Programas (x86) : For 32 bit files

This can be compared with the folders in an English 64 bit Windows:

C:\Program Files : For 64 bit files
C:\Program Files (x86) : For 32 bit files

(more examples of localized folder names is available in this article on our web site.)

Use an environment variable
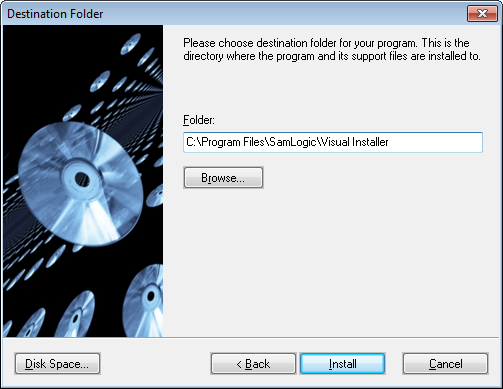
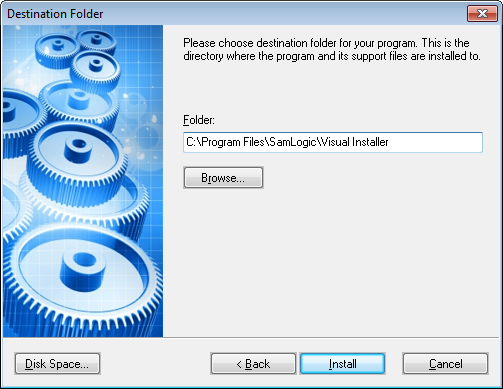
It is impossible to handle all of the above combinations by hard-coding the folder path to the Program Files folder. We also advise against any tries to do so. Instead you should use an environment variable in Visual Installer that has the name %PROGRAMFILES to handle this. By placing this variable in the beginning of a folder path, for example like this:

%PROGRAMFILES\SamLogic\Visual Installer

the %PROGRAMFILES variable will be changed to correct folder path, regardless of the bitness of the program files / Windows and regardless of the language of the Windows. This replacement will occur during the setup process in the user´s computer.

Easier to select a variable in Visual Installer 2012
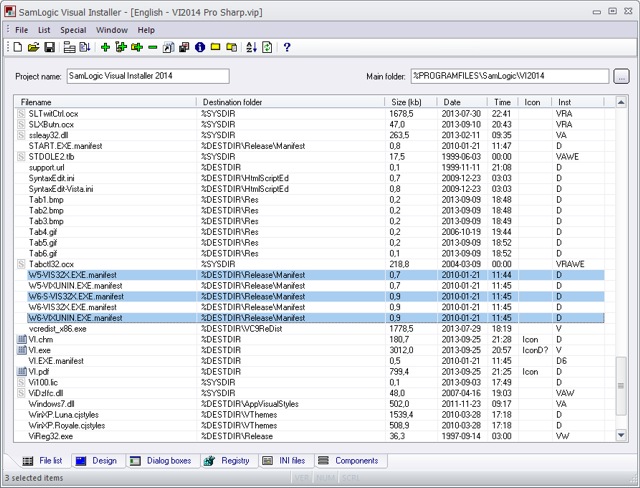
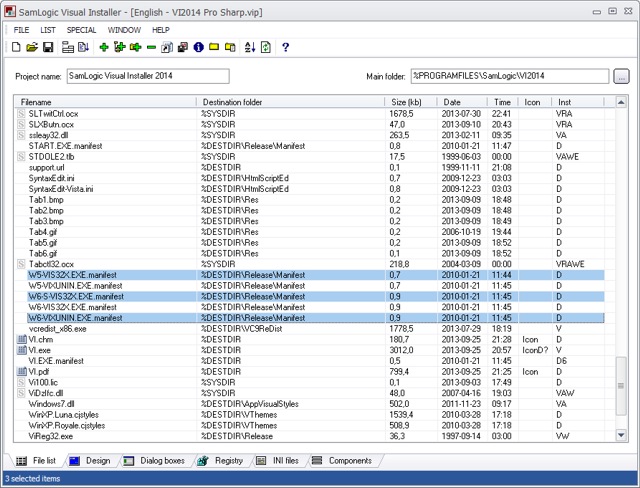
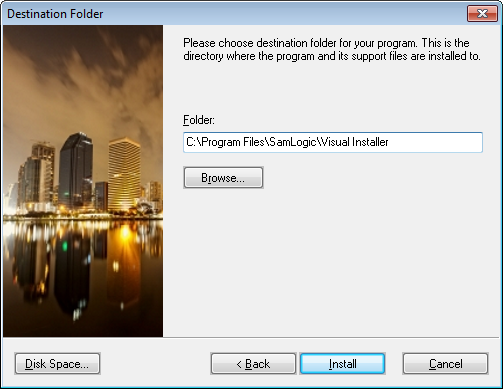
In Visual Installer 2012 (version 9.5.15 or later) it is easier to select correct variable to the main folder of the setup project. We have added a button to the right of the Main folder text box:

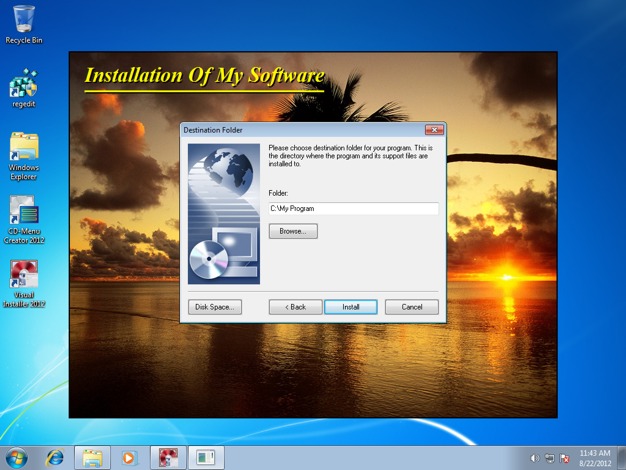
If you click on this button (the button with three dots) the dialog box below will be opened:

Via this dialog box you can choose and include the %PROGRAMFILES variable, or another relevant variable, to the main folder of your installation project in an easy way.

Visual Installer can show visually when a license key is correct

A useful feature in Visual Installer is the possibility to show visually for the user when he/she enters correct license key in the License Key setup dialog box. The user can see that the license key is correct before he/she presses the Next button. The picture below shows how it may look like:

As soon as the correct license key has been entered in the License Key dialog box, the text color of the license key is changed to green and a green check mark is shown to the right of the entered license key. This will simplify for the user when he/she for example enters a license key that is printed on a label.

This option can be turned on and off
You can turn on and off this option in Visual Installer’s editor. To turn this option on/off, open the Dialog boxes tab in the editor and click on the “” button to the right of the License key option. Click thereafter on the More options button. In the dialog box that now is shown, you can turn this option on and off.

Graphical setup windows in Visual Installer

In SamLogic Visual Installer it is possible to insert a graphical setup window in the background, that is shown behind the installation dialog boxes. On the setup window you can place pictures and text etc. A striking setup window, with high-quality graphics, can make a good first impression of your product.

A setup window can cover the whole screen or just a part of the screen. Below we are showing examples of how it can look like:

Setup window that covers the screen partially

Setup window that covers the whole screen

No setup window (only setup dialog boxes are shown)
Use of a setup window is optional. You can of course create an installation without a setup window, where only installation dialog boxes are shown during the installation. Below we show how it can look like:

More information
> Visual Installer: Setup windows are handled more easily

Visual Installer 2012 has now been released

A new version of our setup tool Visual Installer has now been released. The name of the new version is SamLogic Visual Installer 2012 and some of the new features in the new version are:

• Support for Microsoft Windows 8.
• Support for Microsoft Office 2010.
• Support for Microsoft Visual Studio 2010 and 2012.
• Support for .NET Framework 4.0.
• Compatible with TeamViewer.
• Updated support for AutoCAD profiles.
• You can now create a submenu (subgroup) for shortcuts in an easy way.
• Support information etc. can be added to ‘Add/Remove Program’ in Windows Control Panel.
• Improved handling of updates.
• Updated ‘Create setup package’ dialog box.
• New script commands and a new variable.

A more detailed list with the new features is available on this page.

In coming blog posts we will describe the new features in SamLogic Visual Installer 2012 in more detail.