![]() With the CD-Menu Creator menu designer tool you can create a graphical menu interface that contains more than 40 buttons in one menu window. This allows your customer to open many documents, applications or sub menus from the same menu page, but sometimes it can be difficult to make all buttons fit in one menu window in a proper way. Luckily there are some tricks that you can use and we will explain them below:
With the CD-Menu Creator menu designer tool you can create a graphical menu interface that contains more than 40 buttons in one menu window. This allows your customer to open many documents, applications or sub menus from the same menu page, but sometimes it can be difficult to make all buttons fit in one menu window in a proper way. Luckily there are some tricks that you can use and we will explain them below:
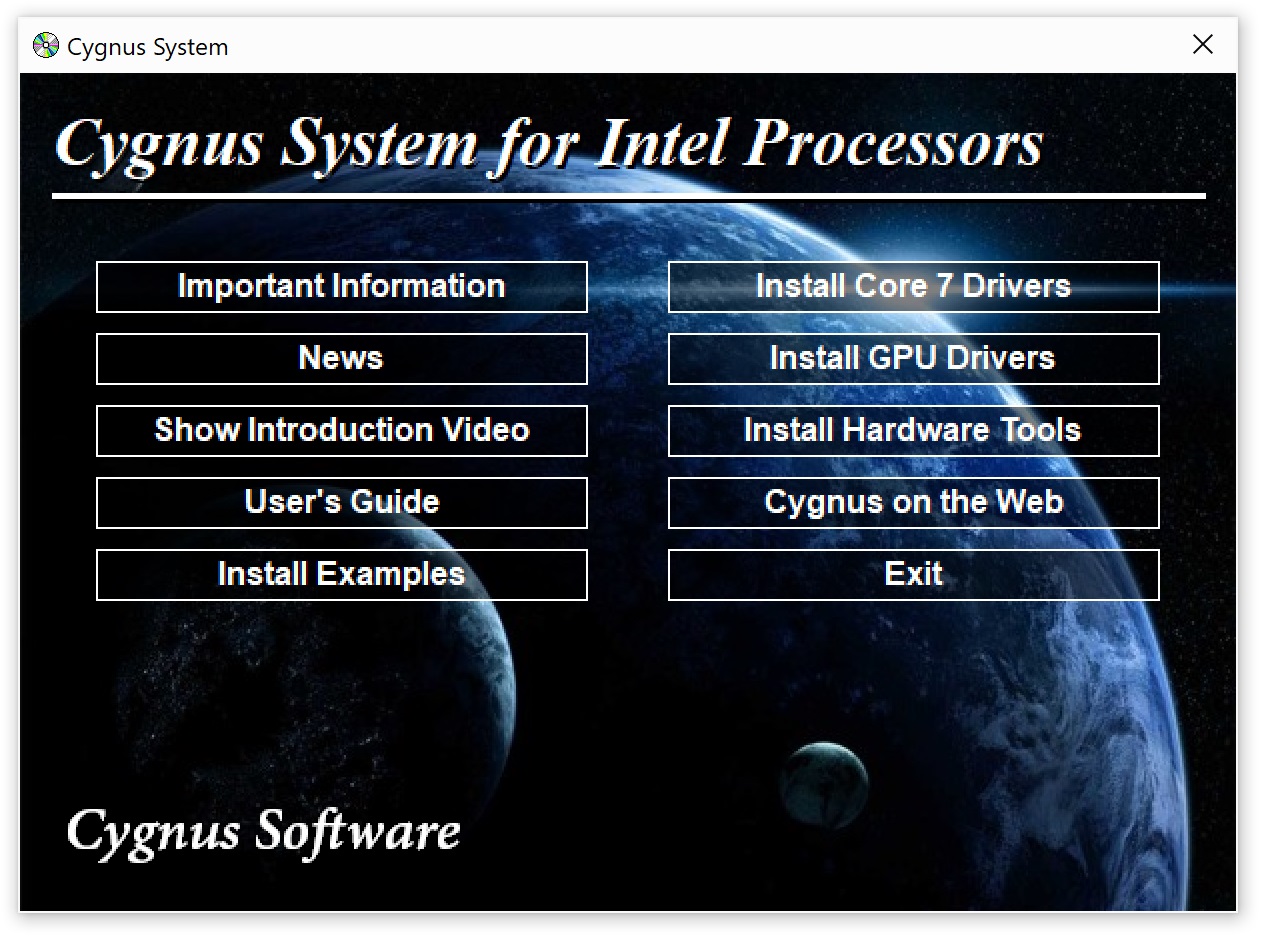
1. Place the buttons in 2, 3 or more columns
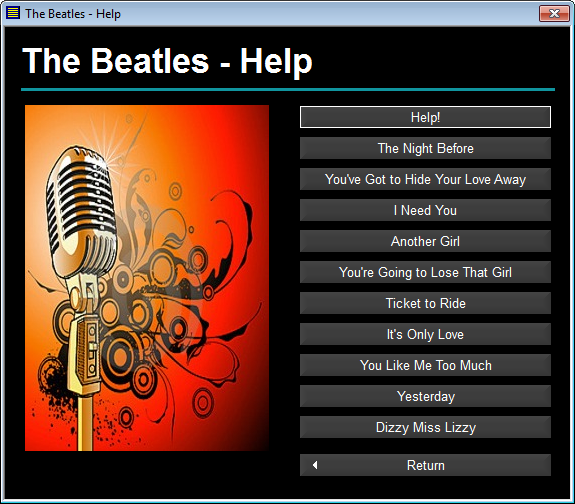
With CD-Menu Creator you can create a menu interface where the buttons are placed in columns. You can place them in 2, 3 or more columns. The picture below shows how it may look like with 2 columns of buttons:
Information about how to arrange the buttons in columns is available in this tip:
> Tip: How to create a menu interface with 2 or 3 columns with buttons
2. Use clickable links instead of framed buttons
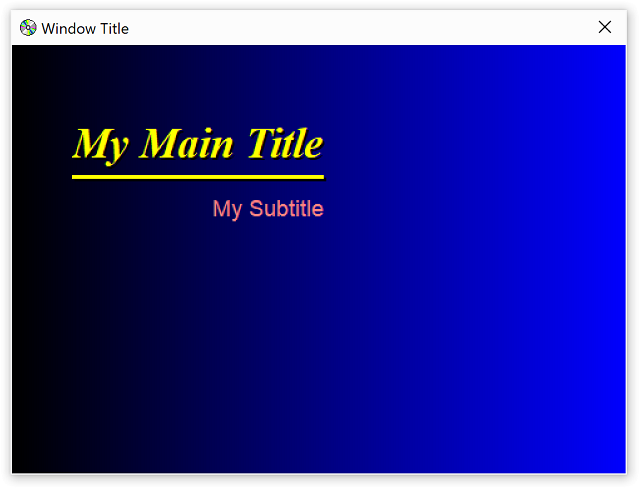
Another solution is to use clickable links instead of framed buttons. Links takes less space than buttons. The picture below shows how it may look like:
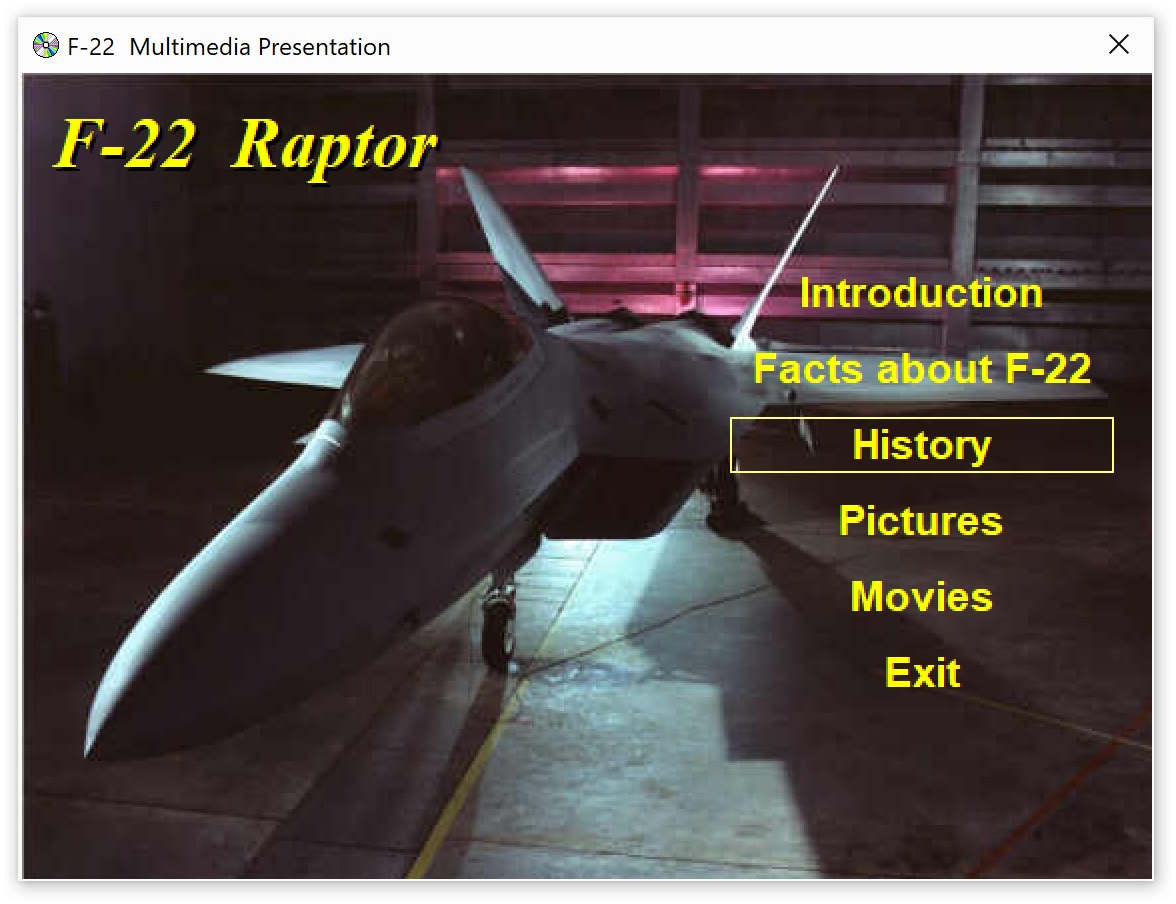
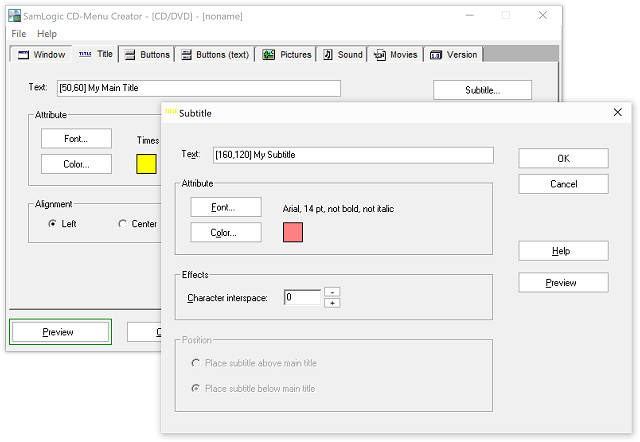
To use clickable links in a menu, choose the Text only option in the Style combo box in the Buttons tab in CD-Menu Creator.
3. Shrink button height and distance between buttons
You can also change the height of the buttons, so they take less vertical space. The vertical distance between buttons can also be reduced, so they are placed more close to each other.
The height of the buttons in a menu can be changed in the Height text box in the Buttons tab in the CD-Menu Creator editor. Information about how to shrink the distance between buttons is available in this tip:
> Tip: How to adjust the button’s position in the menu window
But what to do if you need even more buttons?
Sometimes one menu window is not enough – no matter how you arrange the buttons. The solution then is to split the buttons (or clickable links) in two or more menu pages; for example a main menu and couple of sub menus. Luckily there is an easy way to do this, and the following tip shows how:
> Tip: How to create multiple menus – Two levels of menus
Bonus tip: Create button groups with titles
If there are some free space available in a menu, it can be a good idea to group the buttons in a logical way and add titles to the groups. This will make it easier for a user to locate a specific button. You can read more about button groups and group titles below:
> CD-Menu Creator: You can now create button groups with titles
> Tip: How to create button groups with titles


 Did you knew that there are tips & tricks pages available for our programs? In the tips & tricks pages we show how to use the software in different circumstances, and we describe some technical details about the programs that are not found in the program’s User’s guides. The tips are in step-by-step format which makes them easy to follow. Many of the tips contain images (screen dumps etc.), and some of the tips have also informative video clips that demonstrate the tip.