Sometimes the fonts that are included in Windows are not enough, and you need to distribute your own font(s) with your software. But before they can be used in another computer, they must be installed in the right system folder and registered in the system.
Luckily Visual Installer supports installation and registration of fonts. So it is easy to add a font to your installation and have it installed and registered in another computer. In the tip below we will show how to add a font file to an installation project and how to make sure it will be registered in the system during the installation.
How to install and register a font with Visual Installer
1. Open your project or create a new project.
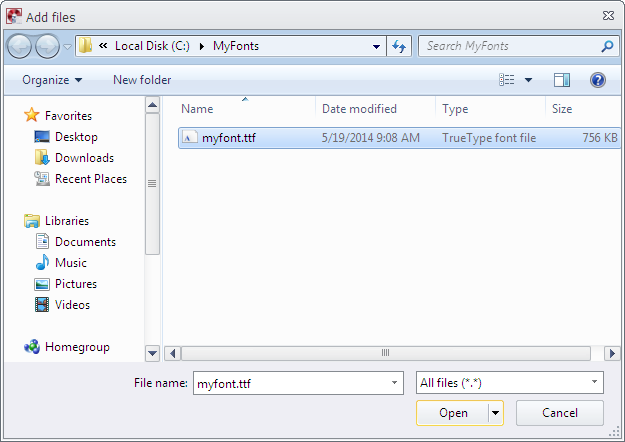
2. Choose the menu item List – Add – Add files.
3. Browse and select your font file (must be a file with the filename extension .ttf).
(If you want to add a font file that is located in C:\Windows\Fonts, you can first copy the font file to another folder that you create, for example C:\MyFonts. Thereafter you add the font file to Visual Installer´s file list from C:\MyFonts. Adding the font directly from C:\Windows\Fonts may not always work because it is a special folder.)
4. Click Open in the Add files dialog box.
5. In the next dialog box that is shown, make sure that the destination folder is %FONTDIR.
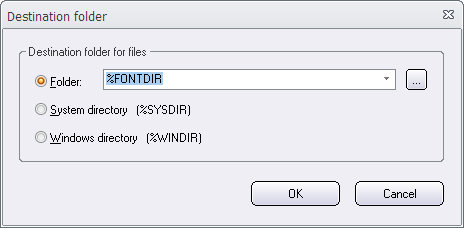
6. Click OK to close the Destination folder dialog box.
7. Now select the font file in the file list.
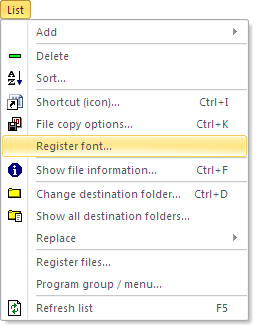
8. Choose the menu item List – Register font.
9. Enter a font name in the Font name text box in the Register font dialog box.
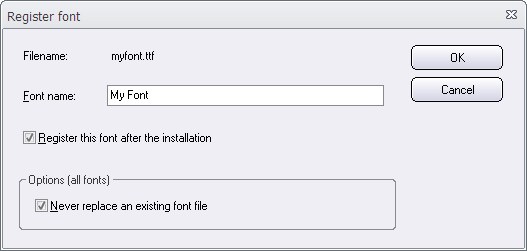
10. Make sure that the Register this font after installation option is selected.
11. Click OK.
You have now added a font file to your installation project and it will be installed in Windows font folder, and registered in a proper way, during the installation.
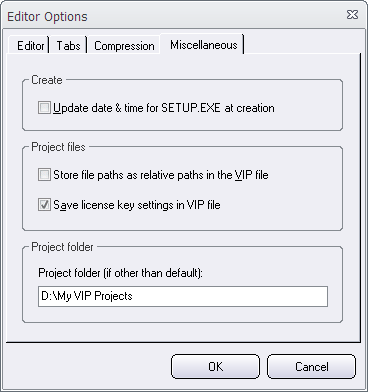
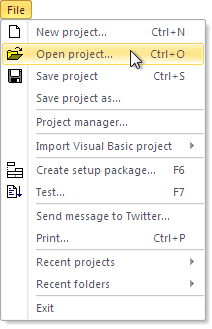 The default folder is used as a start folder when you have no project file opened in the Visual Installer editor, and want to open an existing project file (.VIP file), for example via the File – Open project menu item. The start folder is opened first. Thereafter you can browse to another folder on the drive if your project file is not located in the start folder.