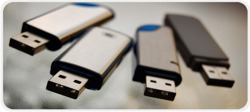
 With USB sticks it is easy to distribute a large number of files, or large files, to other persons. For example software, videos, documents, drawings, etc. USB flash drives are also fast (especially USB 3.0 drives are very fast), so it does not take long time to copy (or install) the contents on a USB stick to a hard disk. But navigating can be a problem if the USB flash drive contains lots of files. The user can have problems to locate all of the files on the drive. The solution to this is to create a menu interface.
AutoRun menu interfaces
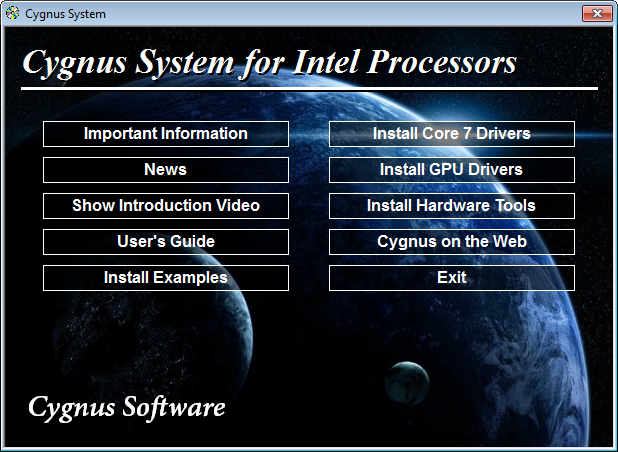
There exist many menu designer tools on the market that can create menu interfaces for USB flash drives. But what about AutoRun menu interfaces? Menus that open automatically? Is this even technical possible?
Microsoft disabled the AutoRun function for USB sticks
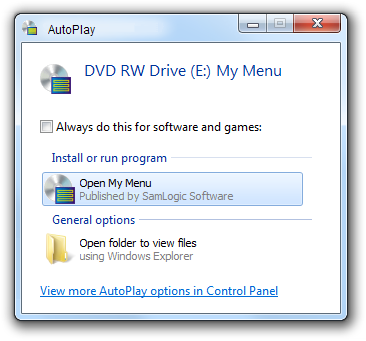
Microsoft disabled the AutoRun function for USB sticks a few years ago, so it does not work as with CDs and DVDs, as it did before. Until the year of 2011 you only needed to add the filename of the menu to an Autorun.inf file (that you put on the USB flash drive) and the menu would open automatically when somebody inserted the USB stick into a USB port. But today this method does not work. If you try the same today, the menu will not open automatically. Instead will Windows AutoPlay window be shown on the screen, and you must click on the Windows Explorer option in the AutoPlay window to open Windows Explorer, and thereafter manually locate the menu program file on the drive and run it.
Does it have to be in this way?
Does it have to be in this way? Is there really no way to create an AutoRun menu and have the menu be opened 100% automatically? We will give you the answer to this question in this new article on our website:

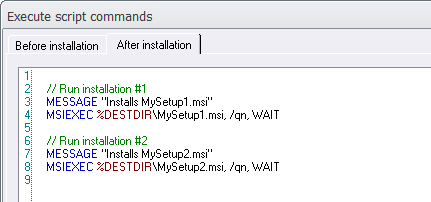
 More information about MSIEXEC
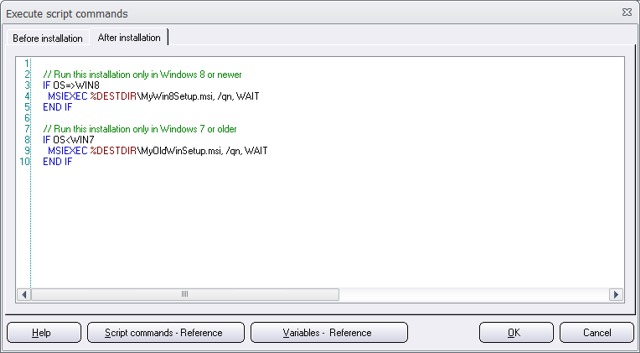
 Since Windows 95 all versions of Windows has supported the AutoRun technology. This technology allows programs and menu interfaces, that are distributed on CDs and DVDs, to be opened automatically when the disc is inserted in the computer’s drive.