All of SamLogic’s programs, and other tools, are now adapted to the new Microsoft Windows 8.1. But the software also work fine with Windows XP, Windows Vista, Windows 7, and some other older operating systems. If you want more information about a specific product, you can click on a link below:
Programs
> CD-Menu Creator – AutoRun menu designer program.
> USB AutoRun Creator – AutoRun USB stick creator.
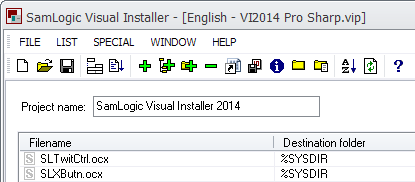
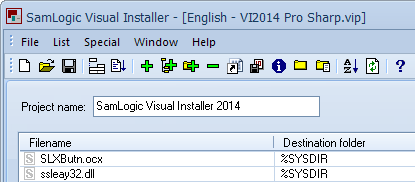
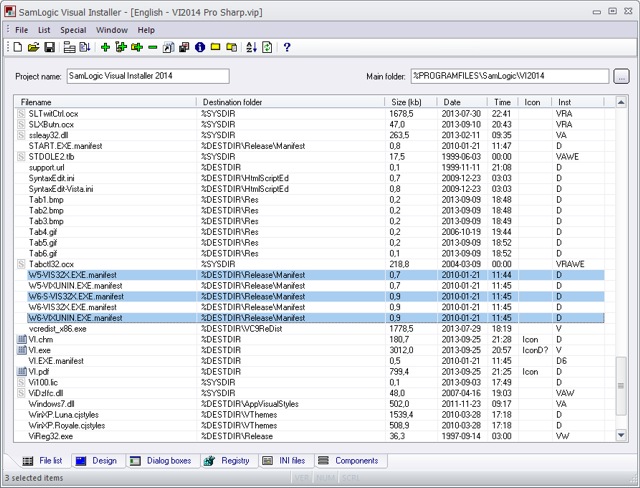
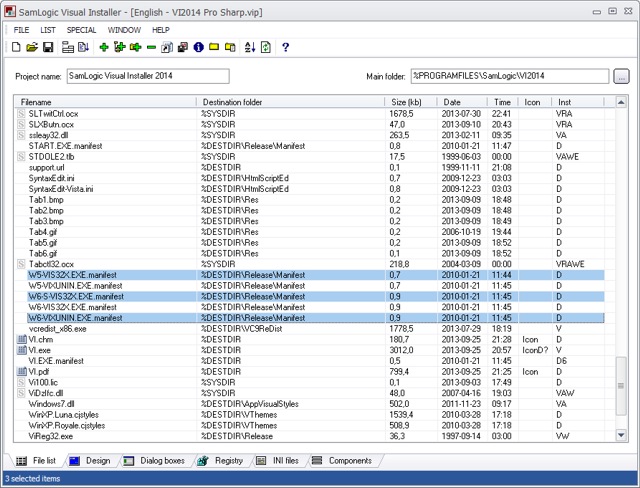
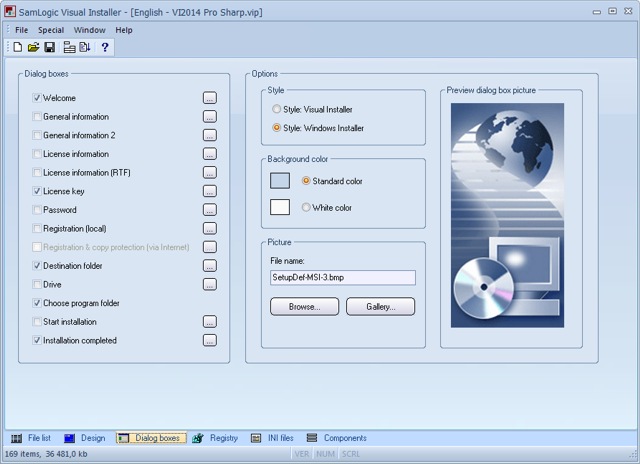
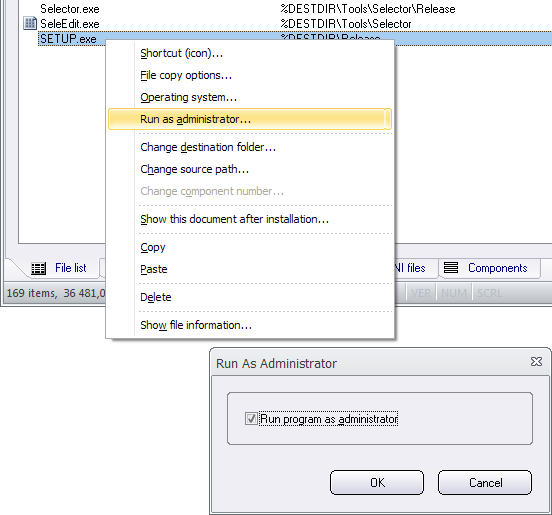
> Visual Installer – Installation software / setup tool.
> MultiMailer – Newsletter / e-mail marketing software.
Product suites / Bundles
> Media Tools – Program bundle with 5 tools.
> USB Menu Creator – Program bundle with 3 tools.
We have also tested our component libraries in Windows 8.1, and they are fully compatible. If you want to test a program you can visit the web page below:
> Download a Demo / Free Trial
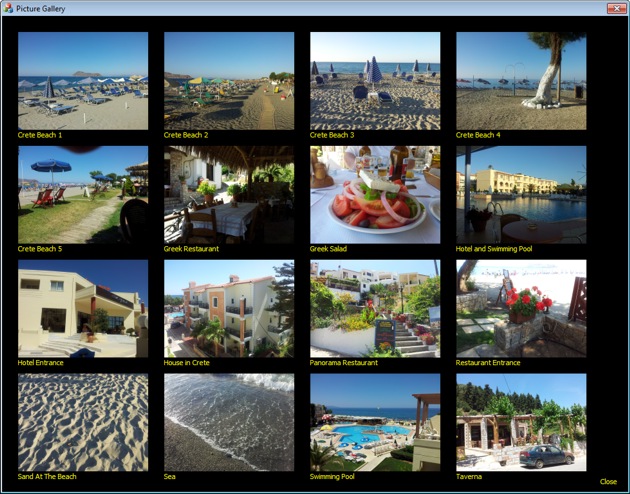
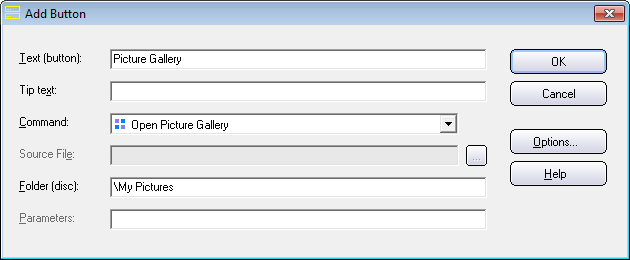
 We have added a new tip to the Tips & Tricks section of our web site. The tip explains how to use the
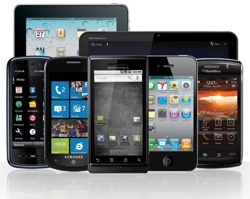 More and more people open their newsletters on mobile devices. According to a study done by Experian Marketing Services is half of all emails opened solely on a mobile device, compared to 23 percent for both email clients and web clients.