What is a portable application?
 A portable application (portable app) is a computer program that you can carry around with you on a portable device and use it on any computer. It does not require any installation, you simply plug your USB flash drive, portable hard drive, iPod, iPad or other removable drive into the computer and run the program. A portable application can be a game, or a utility program such as a text editor, email client, web browser, antivirus software, backup tool etc. or similar.
A portable application gives you access to your software and personal data just as you would have on your own PC. However, all the portable application settings and data are stored on your external drive so when you unplug it, none of your personal data is left behind. Furthermore, the computer you run your portable application on does not get affected as all data is saved on the drive from where you run your application.
A portable menu will give an easy access to the portable applications
A portable menu will provide you with a simple way to access your portable applications. You only have to plug in the device and open the menu interface, and thereafter all applications are just one click away. You don’t need to browse the drive and its folders using Windows Explorer (or similar software) to find a particular application.
An AutoRun menu will make it even simpler
 An AutoRun menu will take this one step further. You don’t need to open the portable menu manually – the menu interface will be opened automatically when your portable device (for example a USB stick) is plugged into the computer. And thereafter you can launch one of the portable applications with just one mouse click.
Create an AutoRun menu with USB Menu Creator
SamLogic provides you with an easy solution to create an AutoRun menu for your portable applications: USB Menu Creator. USB Menu Creator gives you the possibility to create an AutoRun menu for USB sticks / flash drives. That means that your created menu will be shown automatically on the screen after plugging your USB stick into the computer’s USB port. All you need to do is to choose the application you want to run.
With USB Menu Creator you can easily design and personalize your portable application’s menu interface so it fits your needs and desires. USB Menu Creator offers you a wide range of effects such as shadows, glass effects, 3D effects, a large palette of graphical button styles, it allows you to place hyperlinks, hotspots, images or videos in your menu and even add different music and sound effects. The picture below shows an example of how an AutoRun menu interface created with USB Menu Creator may look like:
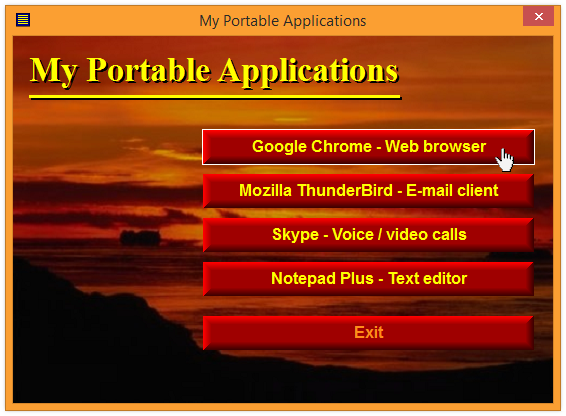
When you want to start an application, just click on one of the buttons in the menu interface.
Wait a minute; doesn’t Microsoft removed AutoRun support for USB sticks?
That is correct. Window’s AutoRun function does not work with USB sticks anymore. So if you plug your current USB stick into a random computer, nothing will be run automatically. But we have developed an alternative system that gives back Autorun to USB sticks. If you use our USB Menu Creator software to add menu interfaces to USB sticks, they will support AutoRun.
Compatible with Windows 8, and Windows XP / Vista / 7
USB Menu Creator can create menu interfaces for portable applications that are compatible with all modern Windows operating systems, including Windows 8, Windows 7, Windows XP and Windows Vista. The menu interface picture above shows an AutoRun menu, created with USB Menu Creator, that is run in Windows 8.
More information
More information about USB Menu Creator is available on the tool’s product page:
> SamLogic USB Menu Creator – Product Page
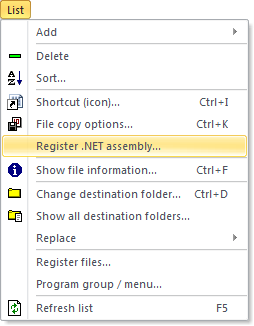
 A NET assembly is an application, component or class that is compiled for use with Microsoft .NET Framework. A NET assembly can have an .EXE filename extension or a .DLL filename extension. If the filename extension is .DLL, the assembly is a library assembly and can be used by other .NET code in an easy way. But the assembly can not be used from native (unmanaged) code, unless it is registered in the system and a COM object interface (a COM-callable wrapper) is added to the assembly. The new function that we have added to Visual Installer will make such a registration.
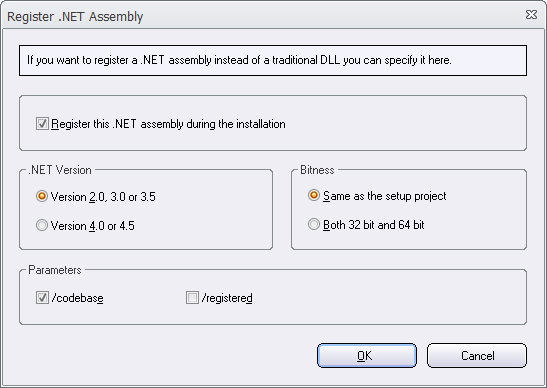

 We have added two new conditions to Visual Installer 2014’s scripting language. One condition can be used to check if the operating system where the setup package is run is 32 bit or 64 bit. Another condition can be used to check if an application or library already has been installed in a computer or not. The later condition is very useful when it is combined with the
  If you also ordered a 12 months maintenance plan when you ordered a software from us, you will have access to a download page on our website from where you can download the latest version of the software, whenever you want. You will have access to the download page for 12 months.
 A portable application (portable app) is a computer program that you can carry around with you on a portable device and use it on any computer. It does not require any installation, you simply plug your USB flash drive, portable hard drive, iPod, iPad or other removable drive into the computer and run the program. A portable application can be a game, or a utility program such as a text editor, email client, web browser, antivirus software, backup tool etc. or similar.
 An AutoRun menu will take this one step further. You don’t need to open the portable menu manually – the menu interface will be opened automatically when your portable device (for example a USB stick) is plugged into the computer. And thereafter you can launch one of the portable applications with just one mouse click.
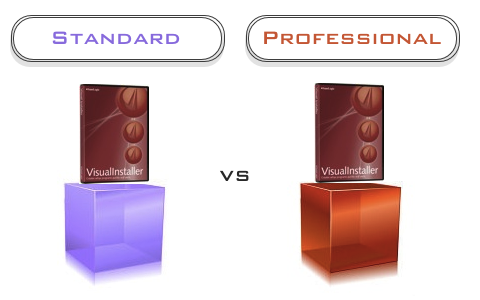
 The Professional version is also necessary if you need to handle prerequisites during an installation. From Visual Installer / Professional you can run other installations during the installation process in a controlled manner. If you need to install 64 bit applications, you must also use the Professional version. The Standard version only support installation of 32 bit applications.
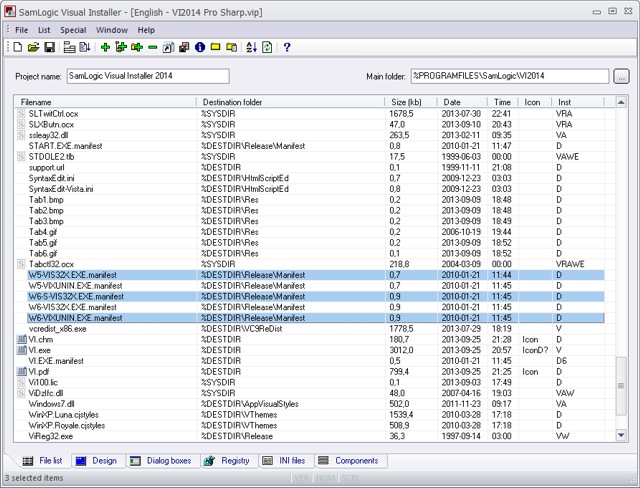
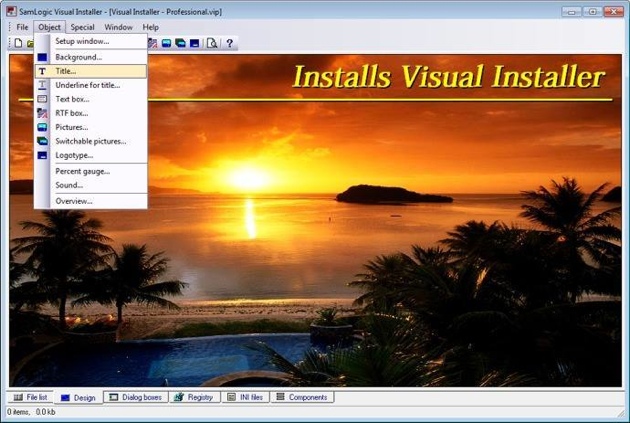
 All of SamLogic’s programs, and other tools, are now adapted to the new Microsoft Windows 8.1. But the software also work fine with Windows XP, Windows Vista, Windows 7, and some other older operating systems. If you want more information about a specific product, you can click on a link below: