 In CD-Menu Creator you can add a video clip or a movie to a menu interface. You can show the video directly in a menu window, or you can show the video in a separate window that is opened when the end-user clicks on a menu button.
Supported video formats
Using a video in a menu interface may improve the end-user´s first impression of your product, but when you select a video to a menu you should be aware of the following two things:
– Not all video formats are supported by CD-Menu Creator
– Not all CODECs are supported by default in Windows
We recommend you to choose a video that is saved in the MPEG or WMV format. Or an AVI video that you know uses a basic CODEC (coder-decoder) that all Windows support. Be aware of that many AVI videos has been created with a CODEC that not all end-user´s Windows support by default. The end-user must have same CODEC installed in the computer that was used when the video was created, otherwise the video can not be shown.
Avoid MPEG-4
Today many create videos in the MPEG-4 (MP4) format, but it is not recommended to select a MPEG-4 video to a menu created with CD-Menu Creator. Although many end-users will have a media player that can play the MPEG-4 video, the necessary CODEC is often not available for other software without a separate installation of the CODEC. So therefore, to reduce the risk for problem, we recommend you to avoid MPEG-4 files with CD-Menu Creator.
We recommend you to test the menu in an empty Window
To be sure that the video you added to a menu will be played without any problem, we recommend you to test the menu in a computer with an empty Windows (a computer where only Windows but no other software has been installed). It can be a virtual computer or physical computer.
By testing the menu and the video in a computer with an empty Windows, you will discover if the video is dependent of a CODEC that is not installed by default in Windows.
Summary – Supported video formats / filename extensions
When you select a video file to a CD-Menu Creator menu, you should select a file with one of the following filename extensions:
.MPG or .MPEG : (MPEG) Recommended format, works almost always.
.WMV : (WMV) Recommended format, works almost always.
.AVI : (AVI) Works if a proper CODEC has been chosen to the video.
If you have a video file with the .MP4 filename extension, we recommend you to convert it to one of the video formats above. There are many conversation programs that can be downloaded from the Internet that makes the conversion. Or even better, if it is possible, contact the source and try to get the same video in one of the video formats mentioned above.
 Since January 1, 2016, Windows 7 and newer Windows will no longer trust software that is signed with a SHA-1 code signing certificate, if the software is downloaded from the Internet and the software is time-stamped with a value greater than January 1, 2016. This means that if you code sign a binary file (for example an EXE file) this year and uses SHA-1 as a hash algorithm, it will not be trusted in newer Windows. Instead you must use a SHA-2 (SHA-256) code signing certificate; then the binary file will be trusted by Windows 7 and newer. You can read more about this in the following articles on Microsoft’s website:
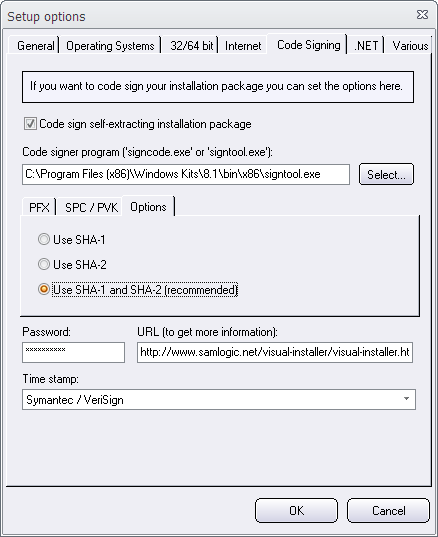

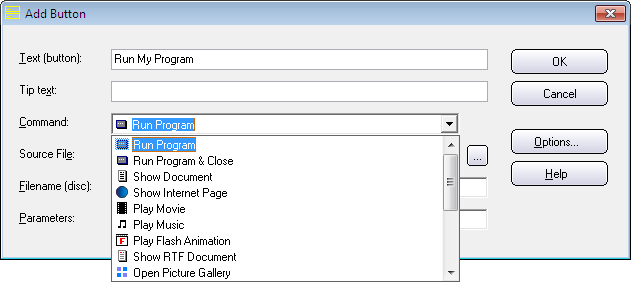
 Run Program