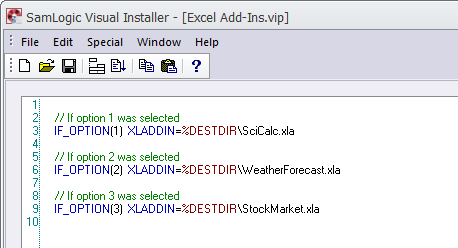
Besides opening documents on the local drive you can also open web pages on the Internet from a menu interface created with CD-Menu Creator. There is button command with the name Show Internet Page that can be used to open the web page.
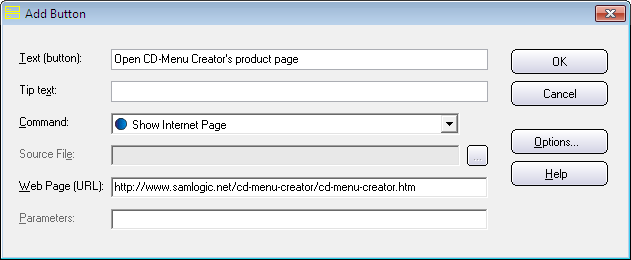
If you choose this command from the Command combo box in the Add Button or Edit Button dialog box, a text box with the name Web Page (URL) is shown. Here you can enter a URL to a web site or web page on the Internet. For example:
http://www.samlogic.net/cd-menu-creator/cd-menu-creator.htm
Also PDF documents can be opened
You can also enter a URL to a PDF document on the web in the Web Page (URL) text box. For example:
http://www.mycompany.com/mydocuments/myuserguide.pdf
![]() If you specify a URL to a PDF document, the PDF document will be opened in the end-user’s web browser. Specifying a URL to a PDF document on the Internet instead of specifying a file path to a local version of the PDF document (that is distributed with your CD/DVD or USB stick) can be a good idea if you update the PDF often. The end-user will then always have access to the latest version of your PDF document. But if you do not update the PDF so often, it is probably better to distribute the PDF with your menu and use the Show Document command in CD-Menu Creator to open the PDF.
If you specify a URL to a PDF document, the PDF document will be opened in the end-user’s web browser. Specifying a URL to a PDF document on the Internet instead of specifying a file path to a local version of the PDF document (that is distributed with your CD/DVD or USB stick) can be a good idea if you update the PDF often. The end-user will then always have access to the latest version of your PDF document. But if you do not update the PDF so often, it is probably better to distribute the PDF with your menu and use the Show Document command in CD-Menu Creator to open the PDF.
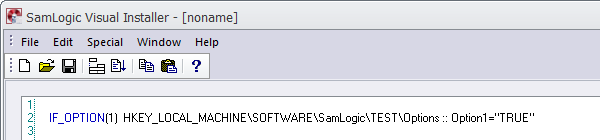
If your URL contains uppercase letters
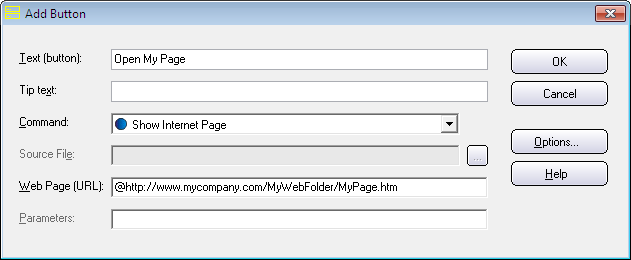
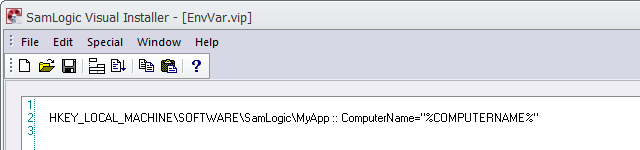
CD-Menu Creator converts normally uppercase letters in URL’s to lowercase letters, but if you need to preserve the uppercase letters in the URL, you can insert a @ character in the beginning of the URL. For example:
@http://www.mycompany.com/MyWebFolder/MyPage.htm
See also the picture below:
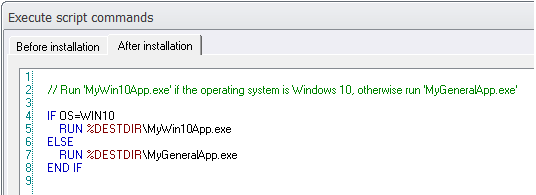
Both HTTP and HTTPS is supported
Both the HTTP and the HTTPS protocol is supported. So you can start the URL with http:// or https://. You can also omit the protocol. Then is the HTTP protocol (http://) used automatically with the URL. But it is a good practice to always include the protocol when dealing with URL’s.
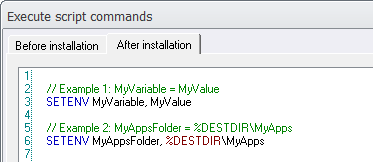
How to open local web pages
The Show Internet Page can only be used to open web pages on the Internet. If you need to open a web page (HTML page) that is located on the same drive as your menu (or on another drive in the computer) you must use the Open Document command instead.
See also
> CD-Menu Creator’s button commands explained


 Today it is important to have a setup package code signed before distribution. This is for many reasons: