 Email marketing, for example by using newsletters, is a very fast and cost-effective way to market your products and services. You can achieve some really impressive results with emails; you just have to make sure to do it right. Below we offer you five quick tips that can easily help you to create a successful email marketing strategy and achieve the best possible results:
1. Plan your email marketing strategy
To make your email marketing successful, you need a well prepared strategy. Get the right message to your customer at the right time. How to do it? Plan your email dispatches carefully in advance. Where do you start? The easiest way is to set and divide your email marketing strategy into three parts:
Inform with email
The first step is to inform your customers about the products and services you offer. Try to do it in an objective way, simply explain what your products do and who can benefit from them. That is not always obvious, especially for new customers, so you have to “teach” your customers about your products. Here, an email newsletter with information and tips about your products can be an excellent way to do this. You can add links to your website for more detailed information or a PDF document with a product presentation.
Remember, the first step is about informing, not selling. Provide your contact details so customers can get in touch with you if they need more information or want to order something.
Market with email
The next step is to promote and market your products with the help of email. It requires a long-term perspective.The goal is to highlight the benefits that your products offer and to strengthen your brand and company name towards your customers.
A newsletter sent by email is an excellent method to do so. You can complete your newsletter with a targeted email promotion, primarily aimed at those who have shown some interest in your products before. You will achieve the best results if you adjust your targeted email promotion for every customer group. Your goal is to make your readers curious to seek more information or to contact you, even though they won’t be buying directly. Make them click on to your website where you can highlight the benefits of your products even more.
Sell with email
The ultimate goal is selling. So how do you optimize your sales letters and get your customers to buy directly? Well, it won’t work without the first two steps. Your customers need to have a good knowledge of your products and the benefits they offer. If you have done your homework with the first two steps, now it’s time to strike. Send a sales email and aim for a direct purchase decision. Don’t forget to make it as easy as possible for your customers to order.
2. Optimize your email marketing costs
Costs are of great importance for any business and email marketing in no exception. You need to face the question how much money and time you can invest in your email marketing. Here comes the big advantage of email marketing compared to other marketing forms; its low costs. Email dispatch is free and newsletter creation cost is totally up to you. With a good email marketing tool you can achieve impressive results with no need for spending hours on it.
Well designed newsletter templates give you the possibility to quickly create your own professionally looking newsletters at low costs. Moreover, you can easily customize them after your needs. A newsletter template created by a web consultant exactly the way you want it can also be a good investment. A well made newsletter template is easy to reuse by replacing images and text every time you need a new newsletter.
3. Make sure to have correct email addresses
E-mail addresses change frequently so you need to update your mailing list regularly. A good tip that makes a difference is to use personal email addresses such as “john.smith@samlogic.com” instead of “info@samlogic.com“. It increases the chance of getting your email to the right person. Last but not least, avoid email duplicates. Getting the same email several times can be very annoying. Use an email program that finds and eliminates the duplicates for you.
 4. Best timing for your email dispatch
Time your email dispatch so that your customers can read your newsletter undisturbed. The best timing for receiving emails for B2B (business to business) clients is within office hours. E-mails sent on weekends and at night most likely disappear in the email overload popping up every morning in your customers’ inbox. Monday mornings are extra overwhelming so try to avoid them.
Mondays in general are not the best days for sending out newsletters due to heavy work load. Fridays’ dispatches on the other hand should be done in the morning as Friday is often a shorter workday.
Plan international dispatches to foreign customers in other time zones so that they are received during office hours. An email program/service with an automatic build-in email dispatch at a predefined time can help you with this (i.e. you can choose an exact time for your email dispatch or set a specific time zone for every contact).
5. Marketing emails and newsletters frequency
Sending out marketing emails too often puts you at risk of making your customers tired of it and signing out from it, or even blocking you as a sender. To avoid this, don’t send your emails to the same customer too often. On the other hand, too sporadic email dispatches may be a cause of missing an important business opportunity. The key is to find a balance for your email dispatches. A regular monthly newsletter completed with emails with more detailed information about new products plus an annual email promotion can be an appropriate email marketing strategy.
It is difficult to set a general email marketing periodicity since the recommendation varies from branch to branch. For branches with quick development and constant changes it is important to receive fresh news frequently. Less frequent email dispatches are more appropriate for branches with slower innovation pace. To achieve the best results, combine email marketing with other forms of marketing channels such as Facebook and Twitter.
See also these articles
> How to create a newsletter that increase sales
> Free Newsletter Templates for Email Marketing
> Sending Newsletters via E-mail (21 Advantages)

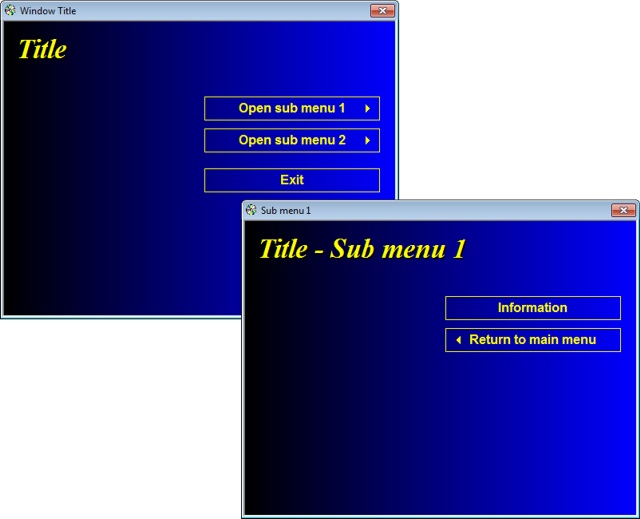
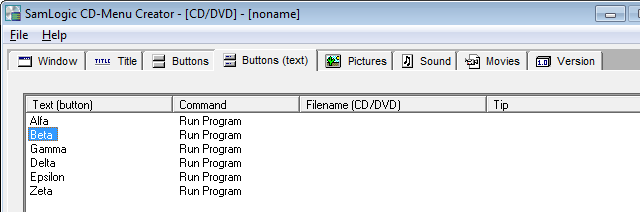
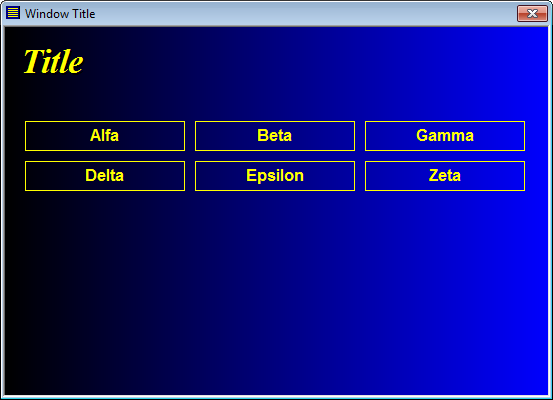
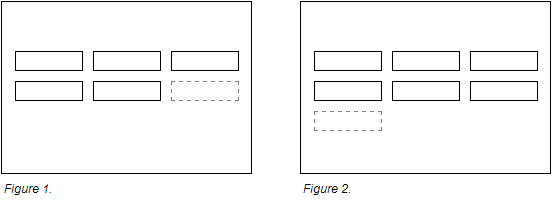
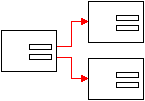 Sometimes one menu page is not enough in a menu system. Sometimes you may want to create a menu system with many menu pages, for example one main menu and some sub menus. Although it has been possible to create such a system with CD-Menu Creator since many years, it has sometimes been complicated to get all file paths in all buttons correct. With CD-Menu Creator 2015 things have changed. We have now included an easy-to-use wizard that creates a menu system with more than menu page (for example a main menu and some sub menus) very easily.
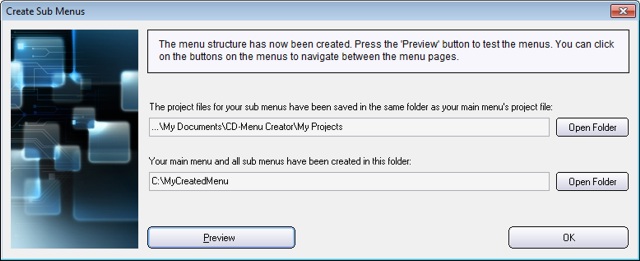
 ) in the video window to view the video in a larger size and better resolution.
 Making a legitimate newsletter pass trough all spam filters can be tricky today. The spam filters are very sensitive and sometimes they make mistakes. The result of this is that also newsletters that receivers subscribe on and really want to read can be stopped by a spam filter; either by a spam filter on a server or by a spam filter on a client computer.
 The default language for setup dialog boxes, information messages and error messages in the
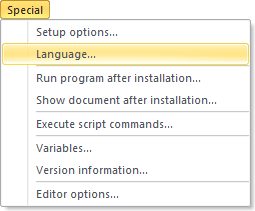

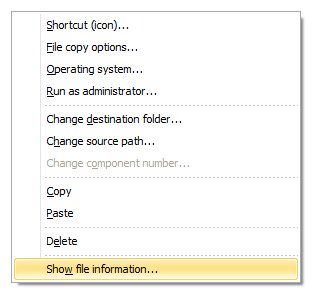
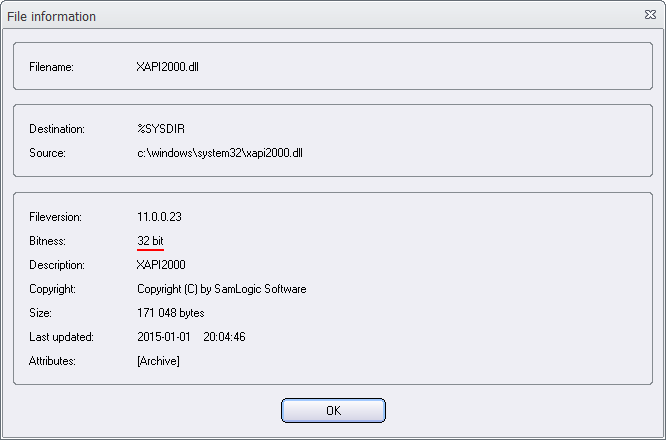
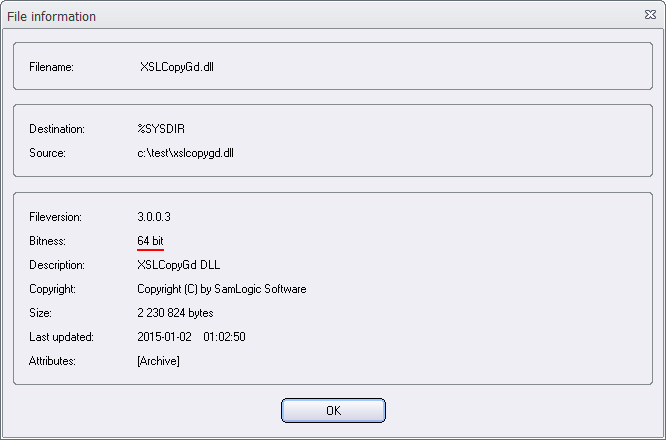
 An .EXE file, a .DLL file and a .OCX file (and some other binary file types) can be compiled as a 32 bit file or a 64 bit file. In many cases you can find out whether the file is 32 bit or 64 bit by using one of the following methods: