How to change font for Visual Installer’s and CD-Menu Creator’s editor

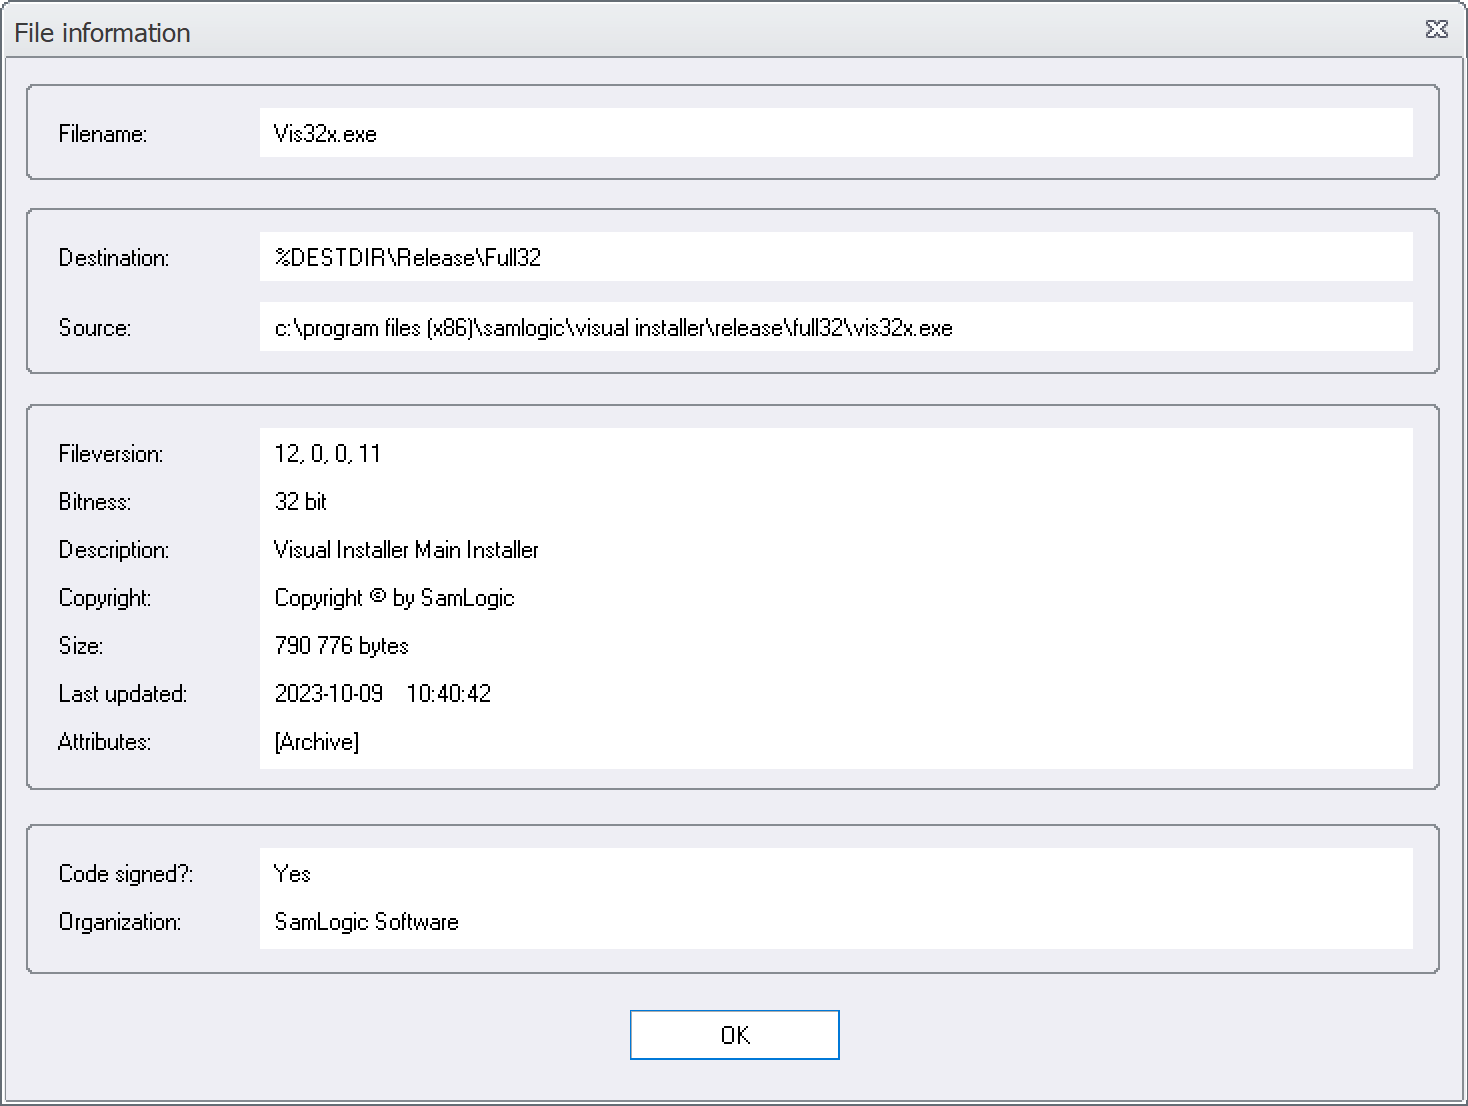
Using one and the same font in a software with all versions of Windows, graphic cards, displays and DPI settings, and expecting the result always to be perfect, is nearly an impossible mission. And then you must also take into account that people also prefer different fonts.

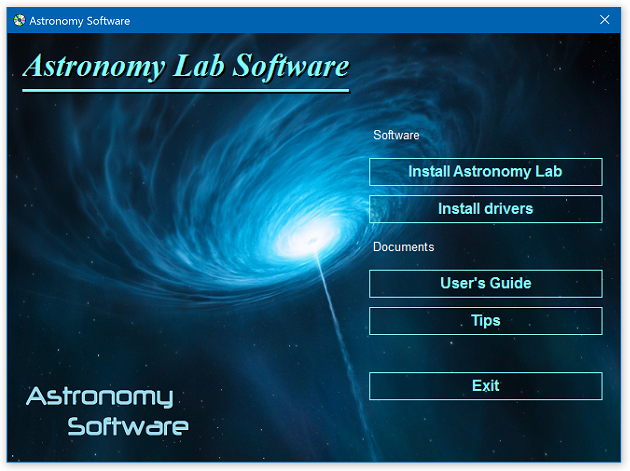
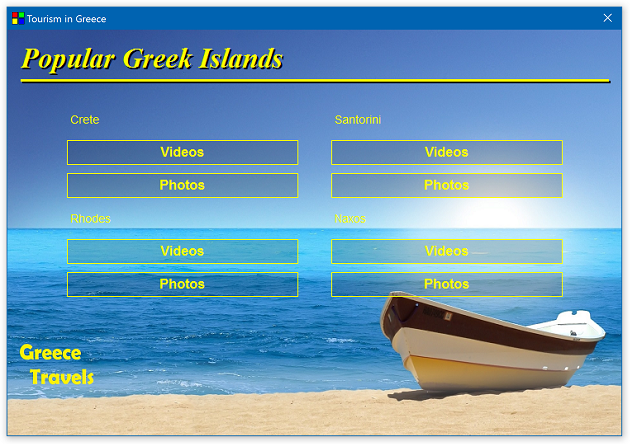
FontsIn Visual Installer and CD-Menu Creator (our tools for creation of installation packages and menu interfaces) you can change the font for the editor. We have included a couple of fonts that you can choose among, so you have the possibility to choose a font that suits your system best.

Too large font size?
If you have problem with a too large font size in the editor – so large that all letters is not visible because they not fit in the reserved text area – you can try to change the font for the editor. This may solve the problem.

How to change the font for the text in the editor
In Visual Installer you can change the font by choosing the Editor options menu item in the Special menu – and then opening the Font tab in the dialog box. In CD-Menu Creator you can change the font by choosing the Options menu item in the File menu – and then opening the Appearance tab in the dialog box. Via these tabs you can change the font for the editor.

See also
> How to change font size for the tip text in a menu

Upgrade from Standard / Professional to Enterprise

EnterpriseIf you have bought a Standard or a Professional version of Visual Installer, MultiMailer or Media Tools, but want to upgrade to the Enterprise version of the product and get access to more functions, this is possible. You only need to pay for the price difference, which is 40-50 dollar/euro for an upgrade from Professional to Enterprise and 80-100 dollar/euro for an upgrade from Standard to Enterprise.

How to upgrade
If you want to make an upgrade from Standard or Professional to Enterprise you can click on one of the links below:

From Standard to Enterprise
> SamLogic Visual Installer – Upgrade – From Standard to Enterprise
> SamLogic MultiMailer – Upgrade – From Standard to Enterprise
> SamLogic Media Tools – Upgrade – From Standard to Enterprise

From Professional to Enterprise
> SamLogic Visual Installer – Upgrade – From Professional to Enterprise
> SamLogic MultiMailer – Upgrade – From Professional to Enterprise
> SamLogic Media Tools – Upgrade – From Professional to Enterprise

Feature lists
If you want to read about the differences between the Standard, Professional and Enterprise versions of Visual Installer, MultiMailer and Media Tools, you can click on the links below:

> Visual Installer: What is the difference between Standard, Professional and Enterprise?
> MultiMailer: What is the difference between Standard, Professional and Enterprise?
> Media Tools: What is the difference between Standard, Professional and Enterprise?

New Product: SamLogic Media Tools / Enterprise

SamLogic Media Tools / Enterprise is a new product suite for developers, marketers and informers. 1 year technical support & updates are included for all software in the suite. It contains the latest versions of many of our tools, for example:

⬧ SamLogic MultiMailer / Enterprise ($189)
⬧ SamLogic Visual Installer / Enterprise ($189)
⬧ SamLogic USB / CD Menu Creator ($139 / $79)
⬧ SamLogic USB AutoRun Creator ($99)

More information is available here:
> Read more about SamLogic Media Tools

Special Introductory Price
For a limited time you can buy 3 licenses of Media Tools / Enterprise to a special introductory price: $199.

> Click here to order SamLogic Media Tools / Enterprise

The introductory price is valid until September 30th. Normal price is $289 and the total value of the software is $605.

An update of Visual Installer 2022 is now available

There is now an update of SamLogic Visual Installer 2022 available. The version number is 12.0.10, and we have fixed some bugs and made som minor improvements in the new version. We have also added some new script commands to Visual Installer’s script language:

SHOW : Opens a document.
SHOW_AFTER : Opens a document – when the installation is completed.
RUN_AFTER : Runs a program – when the installation is completed.

These new script commands give more flexibility when external programs are run or documents are opened during an installation. See this blog post for more information.

How to download the update
If you have Visual Installer 2022 and a 12 months maintenance plan or an active subscription on Media Tools / Development Tools you can download the update from the following download page:

> Download – Visual Installer 2022 – Latest update

If you have an older version of Visual Installer, for example Visual Installer 2018 or Visual Installer 2020, you can upgrade to the latest version of Visual Installer from this order page:

> Upgrade to Visual Installer 2022

How to run a program or open a document via script

In the previous two blog posts we described how to run a program or show a document after an installation, when running a setup package created with Visual Installer. It is also possible to run a program or open a document via Visual Installer´s script language.

One benefit of using script for running a program or opening a document is that you can use a conditional check before you run/open the file. You can for example run different versions of a program depending on which operating system the installation is run in. For example:

// Run only in Windows 10
IF OS=WIN10
  RUN %DESTDIR\MyWin10App.exe
END IF
 
// Run only in Windows 11
IF OS=WIN11
  RUN %DESTDIR\MyWin11App.exe
END IF

  
In the same way you can open and show a particular document based on a condition. For example:

// Open and show only in Windows 10
IF OS=WIN10
  SHOW_AFTER %DESTDIR\For_Win10_Users.pdf
END IF
 
// Open and show only in Windows 11
IF OS=WIN11
  SHOW_AFTER %DESTDIR\For_Win11_Users.pdf
END IF

  
The RUN command above (example 1) is executed immediately and the SHOW_AFTER command above (example 2) is executed when the installation is completed. Read more below.
  
Script commands in Visual Installer that run programs
These three script commands can be used to run programs during an installation:

RUN : Runs a program.
XRUN : Runs a program – with additional options.
RUN_AFTER : Runs a program – when the installation is completed.

  
Script commands in Visual Installer that open documents
These two script commands can be used to open documents during an installation:

SHOW : Opens a document.
SHOW_AFTER : Opens a document – when the installation is completed.

  
The RUN, XRUN and SHOW commands are executed immediately, when the script line is executed, but the RUN_AFTER and SHOW_AFTER commands delays it execution till the installation is completed and the last setup dialog box has been closed.

The RUN_AFTER and SHOW_AFTER commands are new commands that were included in version 12.0.10 of Visual Installer (read more).

See also
> How to run a program after an installation
> How to show a document after an installation

How to show a document after an installation

In this blog post that we posted last week on our blog we described how to run a program after that an installation (created with Visual Installer) is completed. It is also possible to show a document (for example a PDF document) after the installation, and below we will describe how to do that.

In the tip below we assume that you want to give the user an opportunity to open a PDF document with the name ReadMe.pdf. Reading the document is optional, but if the user want to read it, it will be opened when the user closes the last installation dialog box in the setup wizard. Below are the tip steps:

1. Select the document file in the installation project’s file list (ReadMe.pdf in our case).

File list

2. Right click over the selection.

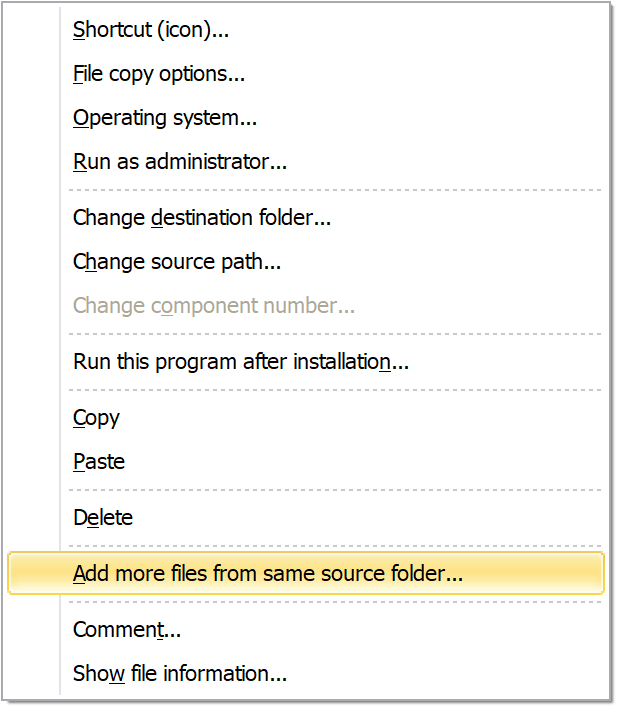
3. Choose the Show this document after installation menu item in the local menu that appear.

4. The dialog box below is now shown:

Show document after installation

5. Confirm that the file path (at Document) is ok.

6. Select the Show check box in the ‘Installation completed’ dialog box option.

7. Check that the text at Check box text is ok.

8. Click on OK.

When your user run the installation, there will be a check box in the last installation dialog box, where the user can decide if he/she wants to read the document or not. See the picture below for an example of how it may look like:

Installation Completed

If the check box is selected, the document that you specified will be opened and shown when the user closes the installation dialog box (for example by clicking on the Exit button).

The dialog box that is shown at step 4 above can also be opened via the Special menu in Visual Installer’s editor.

See also
> How to run a program after an installation

How to run a program after an installation

Sometimes there is a need to start a program immediately after the installation. This is possible with our installation tool Visual Installer.

If the program that you want to run is included in the installation project’s file list, you can follow the steps below:

1. Select the program file in the installation project’s file list.

File list

2. Right click over the selection.

3. Choose the Run this program after installation menu item in the local menu that appear.

4. The dialog box below is now shown:

Run program after installation

5. Confirm that the file path (at Filename) is ok.

6. If you need to send a parameter to the program, enter it at Parameters.

7. Check the other settings. Change if you need.

8. Click on OK.

Now the program file that you selected in the steps above will be run when the installation is completed. It will be run after the last dialog box in the installation is closed.

You can open the Run program after installation dialog box (that is shown at step 4 above) also by choosing the menu item Run program after installation in Visual Installer´s Special menu. The same dialog box will be shown. But there is one difference; if you open the dialog box this way, the file path at Filename will not pre-filled. You need to enter it manually.

The program that you want to run after the installation does not need to exist in the file list. But if you want to run a program outside your setup package, you need to be careful and make sure that it exists at the specified location.

See also
> How to show a document after an installation

SamLogic Software has a new postal and visitor address

SamLogic Software has moved to a new office in a new location, and we have changed our postal and visitor address to the following:

New postal address:
SamLogic Software
Koriandergrand 6
135 36 TYRESO
SWEDEN

New visitor address:
SamLogic Software
Gotlandsgatan 44
116 65 STOCKHOLM
SWEDEN

See also:
> https://www.samlogic.net/about/samlogic.htm

Social media:
> Facebook
> Twitter
> YouTube

E-mail:
info@samlogic.com

An update of MultiMailer 2022 is now available

There is now an update of SamLogic MultiMailer 2022 available. The version number is 10.5.31, and some of the news and improvements in this version are:

– More secure encryption for data sent via clickable links.
– You can now turn off click statistics but keep open statistics.
– Improved handling of temporary soft bounces from anti-spam filter.
– Improved handling of bounces due to DMARC violations.
– Possible to export only selected data from the ‘Bounces’ tab.
– Increased support for ALT text tags.
– Easier to edit existing pictures and buttons in newsletters.
– New language supported: French.

How to download the update
If you have MultiMailer 2022 and a 12 months maintenance plan or an active subscription on Media Tools, you can download the update of MultiMailer 2022 from the following download page:

> Download – MultiMailer 2022 – Latest update

If you have an older version of MultiMailer (before 2022) you can upgrade to the latest version of MultiMailer from this order page:

> Upgrade to MultiMailer 2022

How to change font size for the tip text in a menu

Do you want to use a larger font size for the button’s tip text in a menu interface created with CD-Menu Creator or USB Menu Creator? This is possible.

Tip text with normal font size
When you hover the mouse pointer above a button in a menu interface, a tip text is shown in the bottom left or bottom right part of the menu interface. The font size of this tip text can be changed. If you add one of these two prefix before the text in the tip text, you will have larger font size for the tip text:

[L]  : increase the font height with 25%
[XL] : increase the font height with 50%

For example, to increase the font size with 25%, enter the [L] prefix before the text:

[L] This is a tip text.

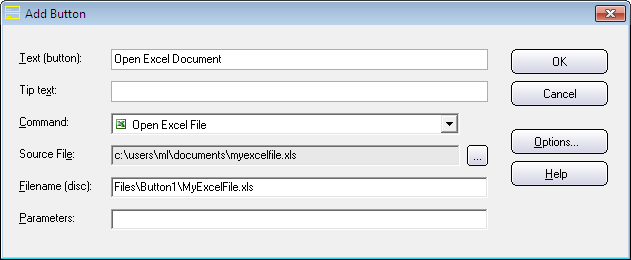
You can add and edit the tip text via the Add Button and Edit Button dialog boxes in the CD-Menu Creator and USB Menu Creator editor:

The 'Add Button' dialog box

Below you can see the size of the tip text when the [L] and the [XL] prefix are used. In the first example is the [L] prefix used and in the second example is the [XL] prefix used.

Example 1:   [L] – Large font size

Tip text with large font size

Example 2:   [XL] – Extra-Large font size

Tip text with extra-large font size